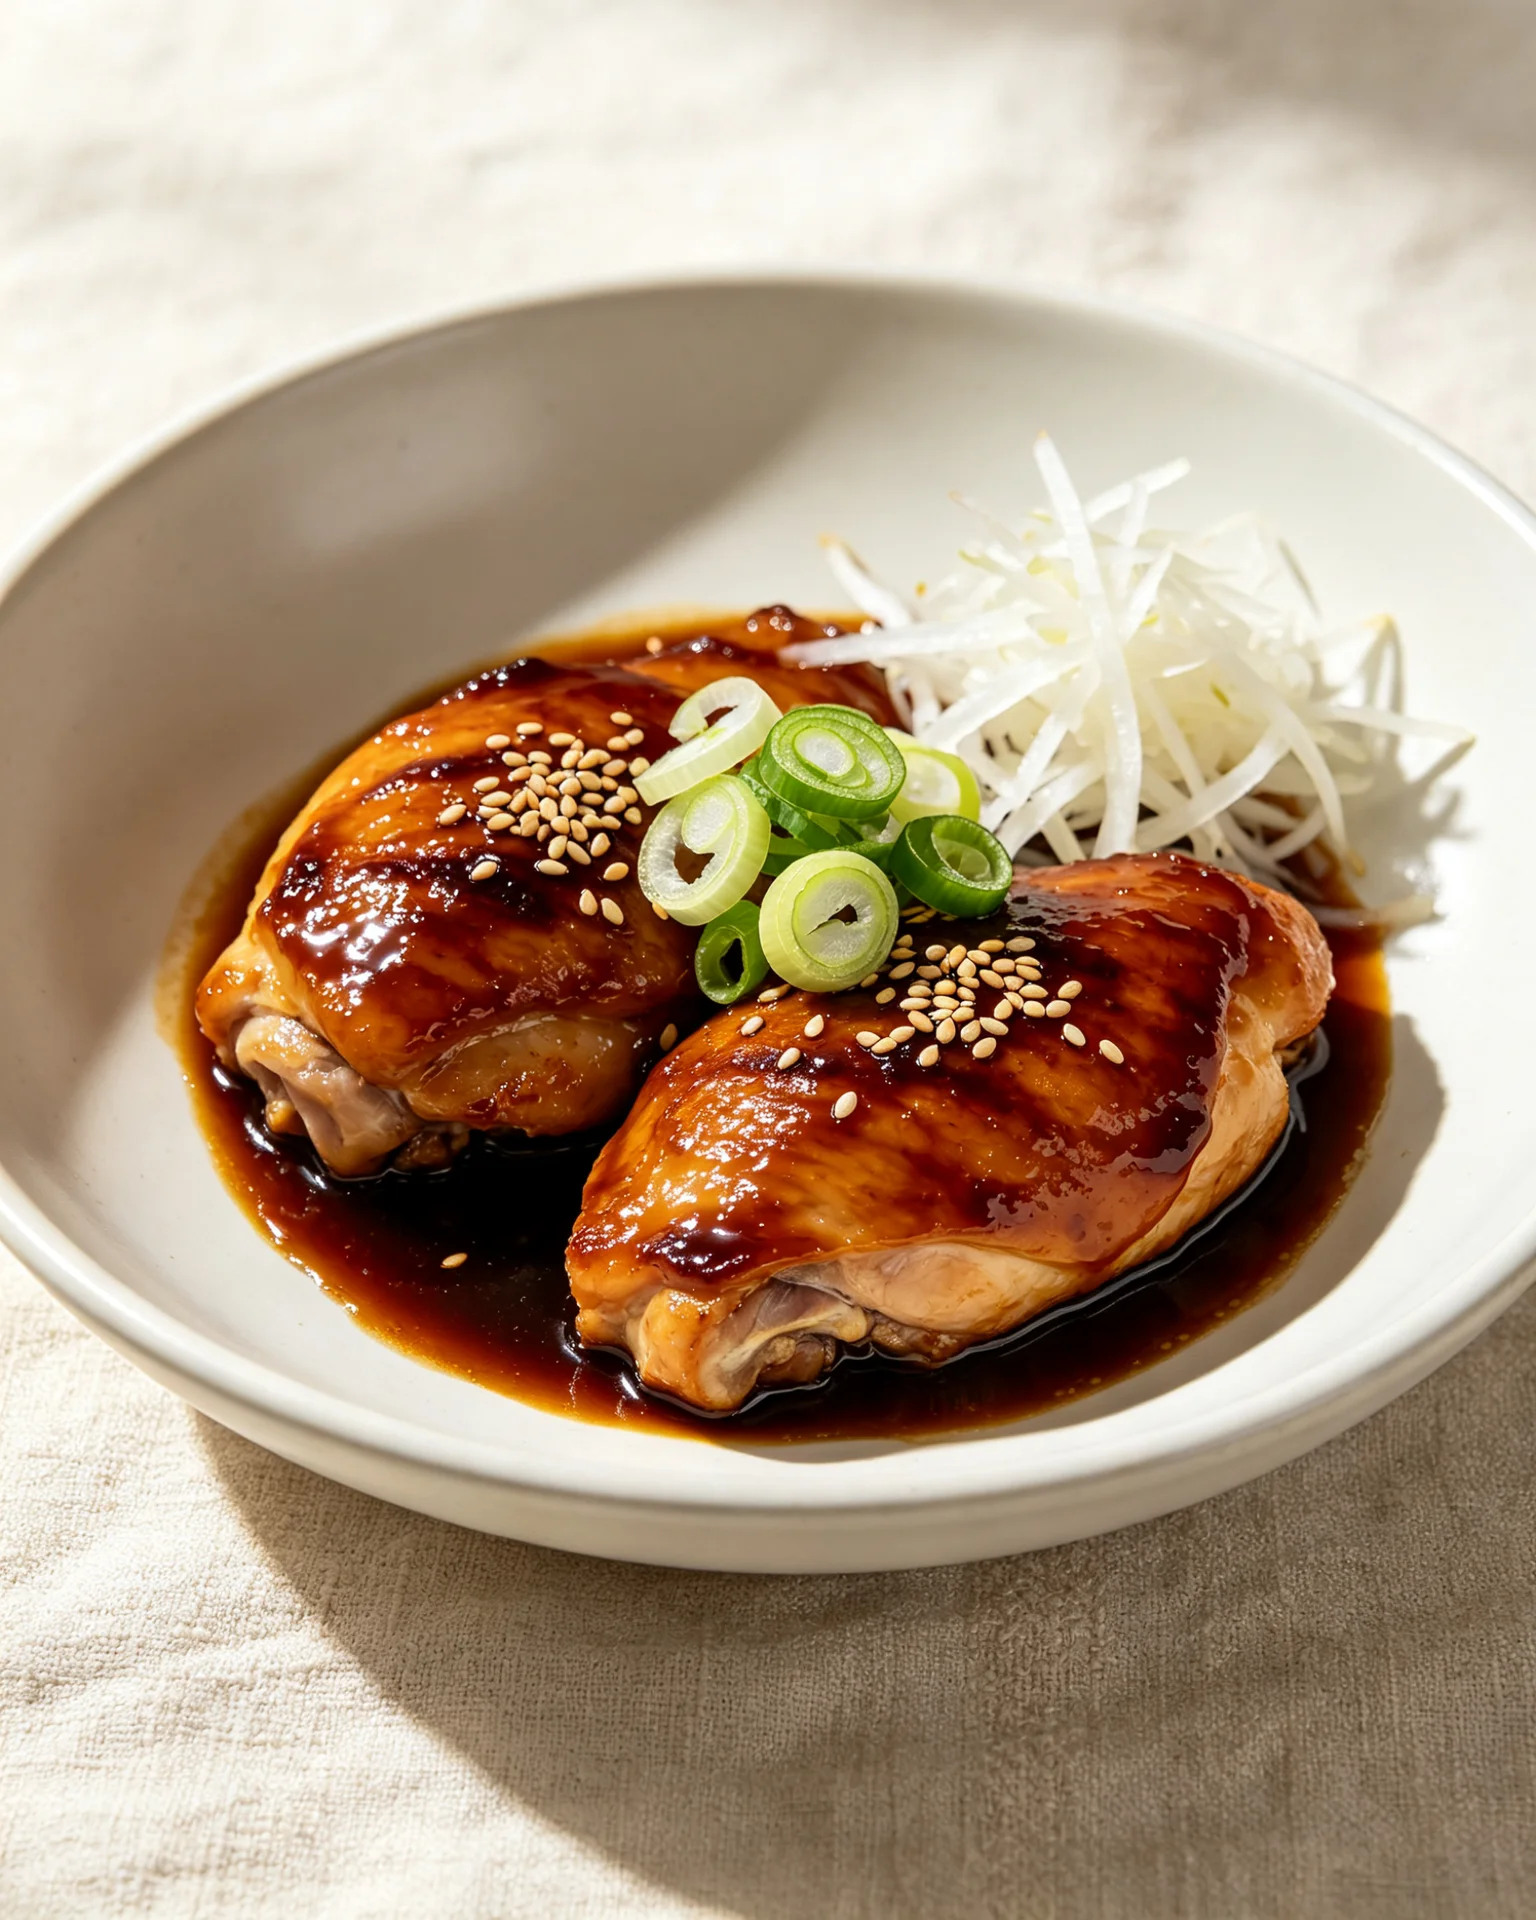
Japanese Teriyaki Chicken Recipe (照り焼き)
The first time I made teriyaki chicken at home, the glaze came out sticky and slightly artificial-tasting. Not bad. Just not what I was expecting after eating it at a Japanese restaurant. I had followed the recipe correctly and used something labelled “mirin” from the supermarket. What I had not noticed was the small print underneath: みりん風調味料. Mirin-style seasoning. Not mirin. Corn syrup, glucose, salt, and artificial flavourings, designed to look like the real product on the shelf next to it.
The actual product I needed was labelled 本みりん, hon-mirin. Made from glutinous rice, rice koji, and alcohol, fermented and matured over months. When I made the same recipe with hon-mirin, the glaze had a depth and a specific amber colour that the synthetic version never produced. That is the one purchase that changes the dish.
What is Japanese teriyaki and what does the name actually mean?
Teriyaki (照り焼き) is two kanji characters that describe the dish exactly. Teri (照り) means gloss or shine. Yaki (焼き) means to grill or broil. The name is the cooking instruction: you are making something that is grilled until it shines.
The gloss does not come from a sauce poured over the chicken at the end. It comes from the sauce being applied in layers during cooking, each application reducing and concentrating on the surface of the chicken until it builds a lacquered finish. That layered basting is what teri describes. A teriyaki chicken with no layered basting is just grilled chicken with soy sauce, cooked correctly but missing the technique that defines the dish.
In Japan, teriyaki is a cooking method applied to any protein: chicken, salmon, yellowtail (buri), beef, tofu. Chicken teriyaki is tori no teriyaki (鶏の照り焼き). The sauce is consistently four ingredients across all proteins, soy sauce, sake, mirin, and sugar. What changes is the protein preparation and timing.
What is the difference between Japanese and Japanese-American teriyaki?
What most people in the West have eaten as teriyaki chicken is Japanese-American. The two are genuinely different dishes.
Japanese teriyaki uses four ingredients in the sauce: soy sauce, sake, mirin, and sugar. No garlic. No ginger. No cornstarch. The sauce is not a marinade, it goes on during cooking, not before. The chicken is cooked first, then glazed repeatedly as it finishes. The result is a clean, sweet-savoury glaze where the quality of each ingredient is fully exposed.
Japanese-American teriyaki developed in Hawaii and the Pacific Northwest among Japanese immigrant communities, adapting to available ingredients. It typically adds garlic, ginger, and sometimes pineapple juice. The sauce is used as a marinade before cooking. Cornstarch is frequently added for thickness. The result is richer, more complex, and more heavily seasoned. Neither version is wrong. They are different dishes.
Bottled teriyaki sauce products sold in Western supermarkets are generally closer to the Japanese-American version, often with additional sweeteners, preservatives, and thickeners. They produce acceptable results but the flavour profile is not the same as a sauce made from four fresh ingredients.
What is hon-mirin and why does it matter?
This is the most important ingredient decision in the recipe.
Hon-mirin (本みりん) is made from glutinous rice, rice koji, and shochu or neutral spirits, fermented and matured for several months to years. The fermentation converts rice starch into complex sugars, oligosaccharides and monosaccharides, that behave differently when heated than simple sugars do. Hon-mirin has approximately 14% alcohol content, which makes it legally a sake product in Japan rather than a condiment. It costs more than the alternatives.
The product sold next to it on most supermarket shelves is aji-mirin (味醂) or mirin-fu chomiryo (みりん風調味料), mirin-style seasoning. It is made from corn syrup, glucose, salt, and artificial flavourings. It contains little to no alcohol. It is significantly cheaper and looks almost identical to hon-mirin on the shelf.
In a finished teriyaki glaze, the difference is visible and tasteable. Hon-mirin’s complex sugars caramelise gradually between 110-160°C, producing the deep amber lacquer that defines authentic teriyaki. Aji-mirin’s simple sugars caramelise faster and at lower temperatures, producing a stickier, paler glaze that browns unevenly and has a slightly synthetic sweetness.
The label tells you which you have. Look for 本みりん in the Japanese characters. If you see みりん風調味料, it is the synthetic version. Most Asian grocery stores carry hon-mirin. Japanese grocery stores always do.
What does each sauce ingredient do and why is there no cornstarch?
The four ingredients each do something specific and they work together to produce the glaze without any thickener.
Sake (approximately 13-15% alcohol) contributes aromatic compounds from its rice fermentation, amino acids, organic acids, esters, and its alcohol burns off during cooking, carrying the raw alcoholic sharpness with it. What remains after the alcohol evaporates is the concentrated flavour compounds from the rice. Sake also tenderises the chicken surface slightly during cooking through its mild acidity.
Mirin provides the sugar base for the glaze. Its complex sugars reduce and concentrate when heated, producing natural viscosity without any added starch. The alcohol in hon-mirin also evaporates during cooking, deepening the flavour.
Soy sauce provides the salt, the umami from its glutamate content, and the colour precursors that deepen during the Maillard reaction on the chicken surface. The ratio of soy sauce to mirin determines the balance between savoury and sweet, the golden ratio used across most Japanese teriyaki is 2:2:2:1 (soy:sake:mirin:sugar).
Sugar accelerates the caramelisation and deepens the colour of the glaze. The sauce will reduce and thicken naturally as the sugars concentrate. This is why cornstarch is not needed and, more importantly, not appropriate, cornstarch produces a cloudy, opaque glaze. The teriyaki glaze should be clear, dark, and lacquered.
Why do you start the chicken skin-side down in a cold pan?
Every instinct in home cooking says to heat the pan first and then add the food. For teriyaki chicken with skin, the opposite produces better results.
Starting the chicken skin-side down in a cold or gently warmed pan allows the subcutaneous fat beneath the skin to render out gradually. As the fat renders, the skin dries and shrinks, developing progressively better contact with the pan surface. The Maillard reaction begins across the entire skin area evenly as the temperature climbs.
Starting in a very hot pan seizes the protein in the skin immediately. The skin contracts rapidly and unevenly, often buckling and pulling away from the pan at the edges and thicker spots. Those areas stay pale while the contact points over-brown. The skin crisps unevenly and can become tough in spots.
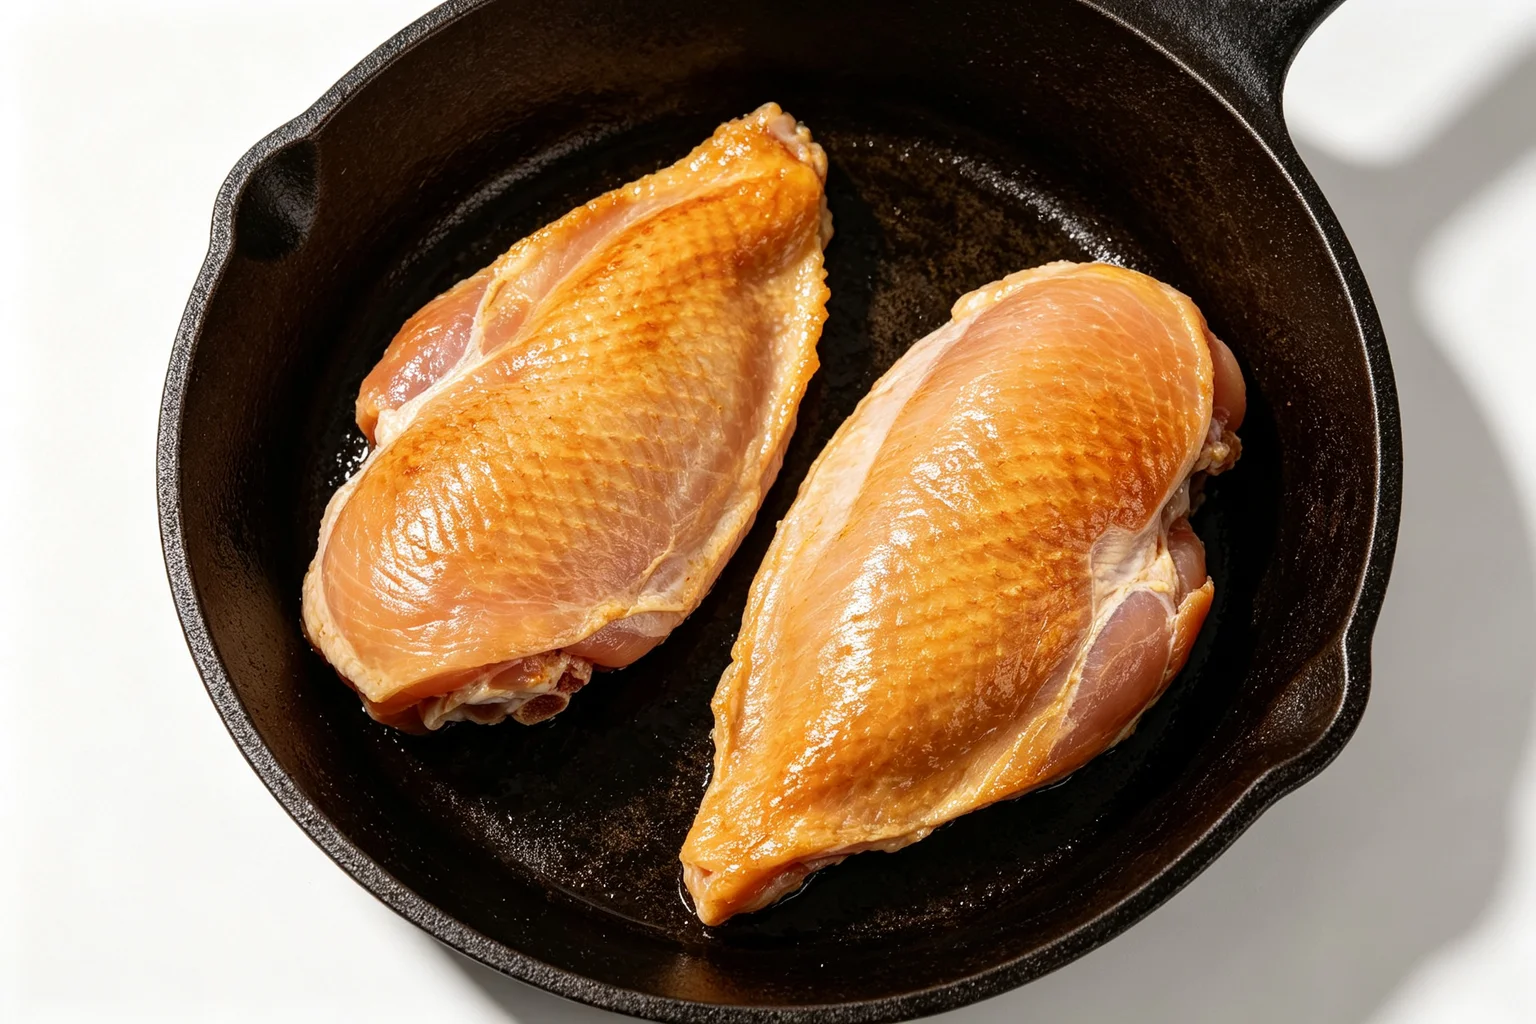
The target at the end of the skin-down phase is what Japanese cooks call kitsune-iro (きつね色), fox colour, a warm, even amber across the entire skin surface. At that point, the fat has rendered, the skin is dry and crisp, and the chicken is ready to flip. This typically takes 7-9 minutes starting from cold, depending on the thickness of the thigh.
What is the layered basting technique and why does it produce a better glaze?
Basting once produces a glazed chicken. Basting three or four times produces a lacquered chicken. The difference is visible on the plate.
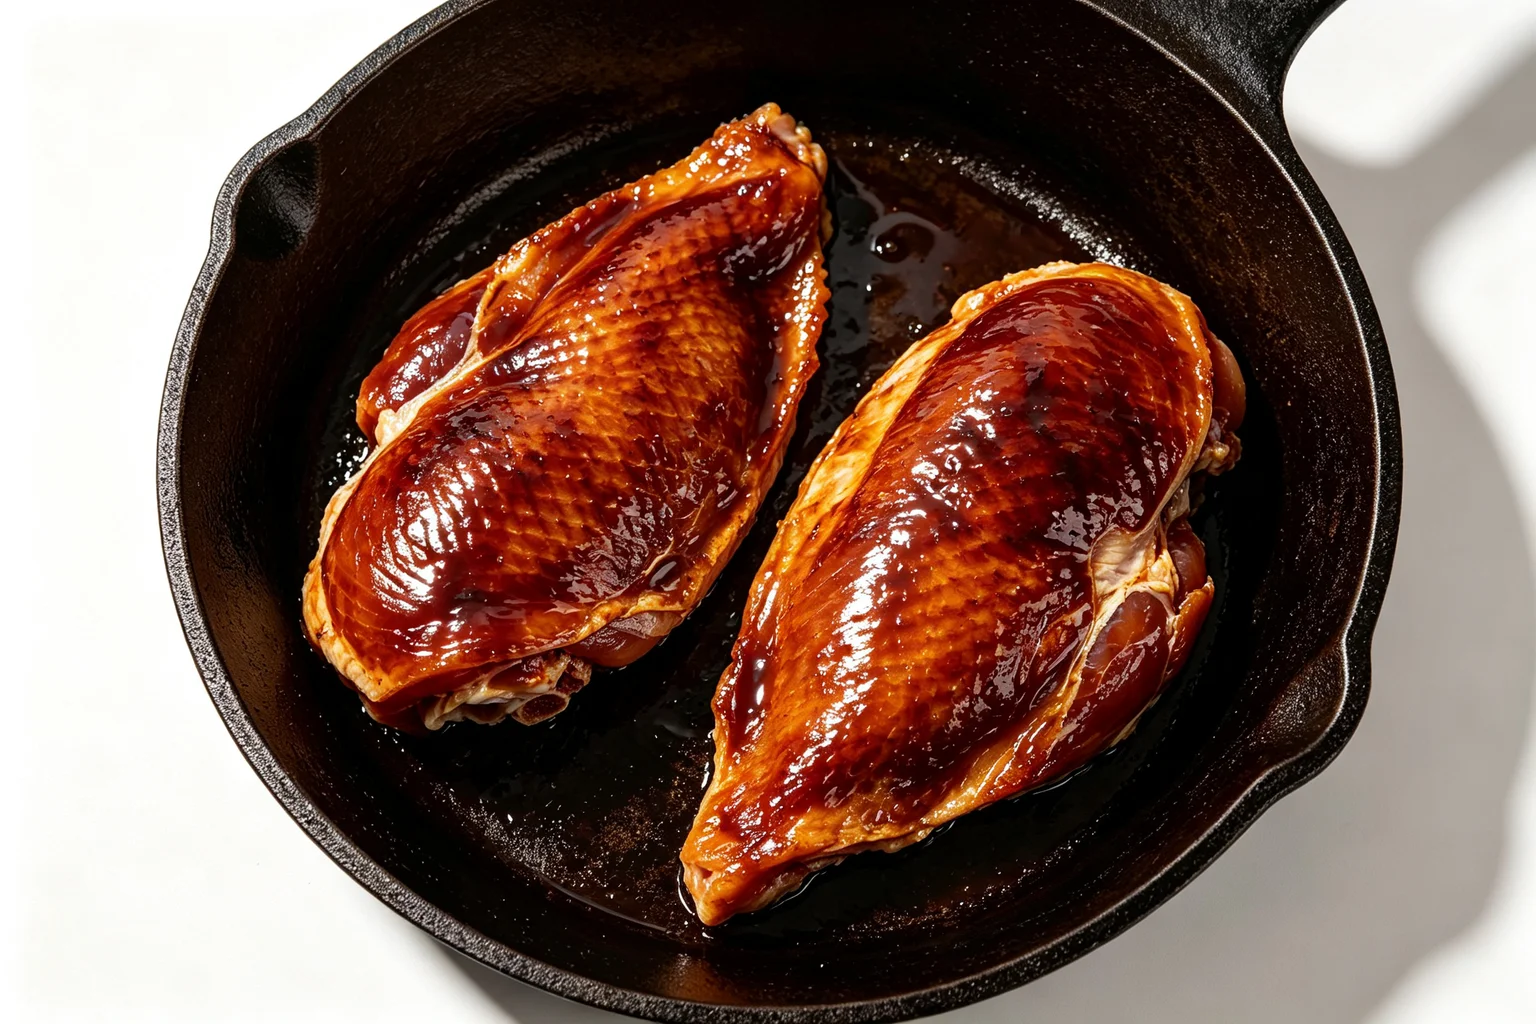
Each application of sauce to the hot chicken surface reduces almost immediately on contact, the liquid evaporates and the sugars concentrate, depositing a thin layer of caramelised glaze. The next application goes onto that layer and reduces further. By the third or fourth round, there are multiple concentrated layers producing a depth of colour and a specific shine that a single sauce application cannot achieve.
The technique: after flipping the chicken from the skin-down phase, add the sauce to the pan. Spoon or brush it over the chicken. Let it reduce until it is beginning to stick lightly to the pan surface around the chicken, 30-45 seconds. Turn the chicken to coat the skin side. Reduce again. Repeat 3-4 times total, adding a small splash of water if the sauce reduces to a point where it starts to burn rather than caramelise.
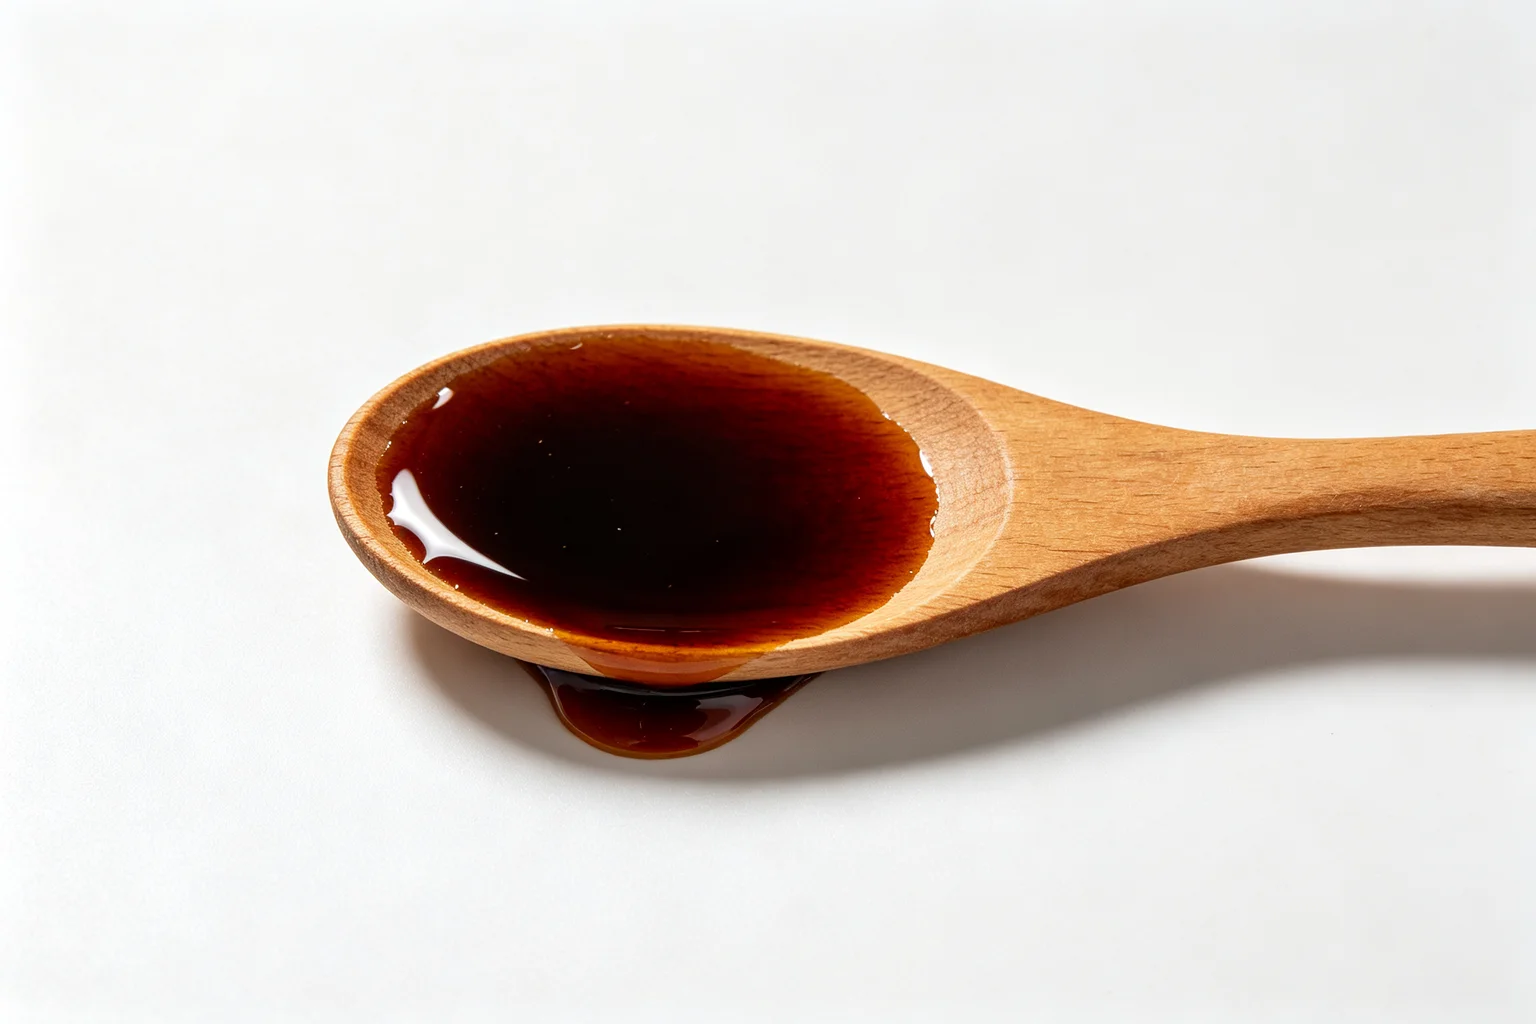
The sauce is ready to apply again when it coats the back of a spoon lightly, thin enough to baste smoothly, concentrated enough to build the next layer.
Ingredients
Serves 4
Chicken:
- 4 bone-in skin-on chicken thighs (approximately 800g / 1lb 12oz total)
- ½ tsp neutral oil
- Salt (very light pinch before cooking)
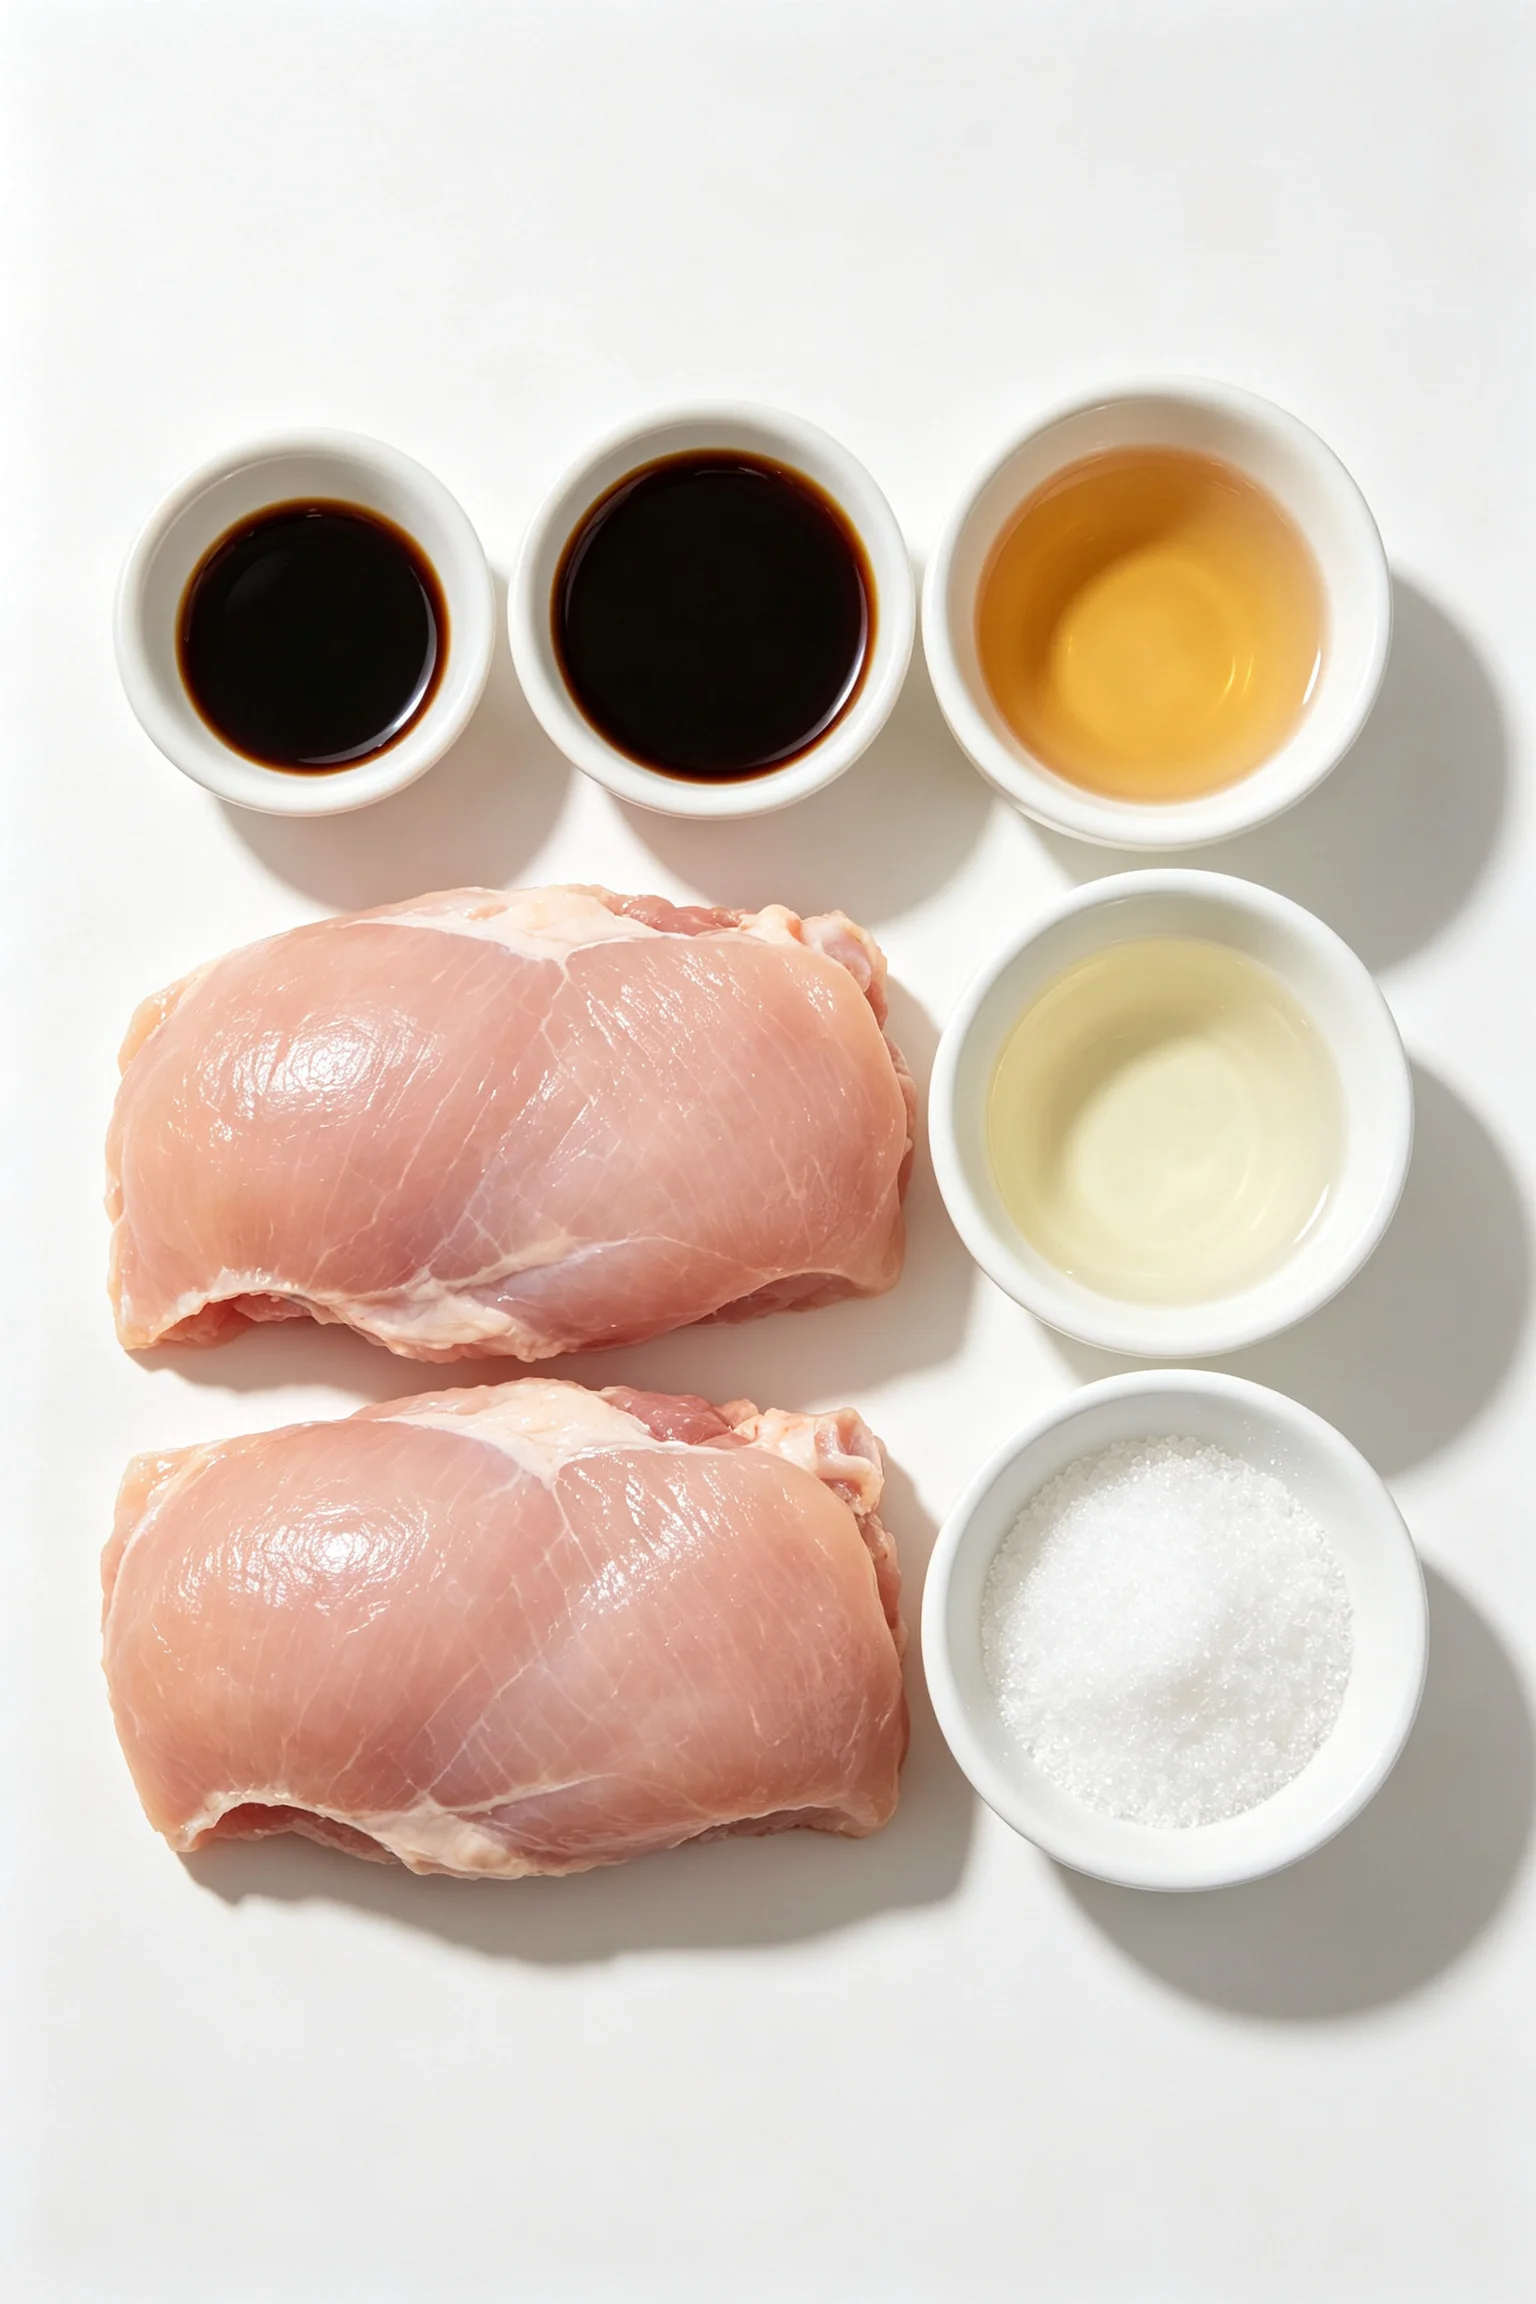
Teriyaki sauce (2:2:2:1 ratio):
- 4 tbsp soy sauce
- 4 tbsp hon-mirin (本みりん, not aji-mirin)
- 4 tbsp sake
- 2 tbsp white sugar
To serve:
- Steamed short-grain Japanese rice
- Shredded daikon radish or julienned spring onion
- Toasted sesame seeds
- Shichimi togarashi (optional)
Instructions
Make sure the chicken is at room temperature before cooking. Cold chicken from the refrigerator drops the pan temperature too sharply and unevenly.
Step 1: Score and prepare the chicken
Place each chicken thigh skin-side up. Using a sharp knife, make 3-4 shallow cuts through the skin and into the flesh at the thickest part, this prevents the skin from contracting and buckling during cooking and ensures even heat penetration to the centre.
Step 2: Mix the sauce
Combine soy sauce, hon-mirin, sake, and sugar in a small bowl or jug. Stir until the sugar dissolves.
Step 3: Cold-pan skin-down start
Place a heavy pan or cast iron skillet over medium heat. Add the oil and swirl to coat.
Cook skin-side down for 7-9 minutes without moving. The fat will render gradually and you will hear the sizzle increase as the moisture cooks off. Check the skin colour periodically by lifting one edge, you are looking for kitsune-iro, an even warm amber across the entire skin surface. If some areas are still pale, press gently with a spatula to improve contact.
Step 4: Flip and cook through
Flip the chicken. Cook on the flesh side for 4-5 minutes until the thickest part is cooked through.
Step 5: Layer the basting
Pour the sauce into the pan around the chicken. It will bubble immediately.
Between bastings, the sauce in the pan should be glossy and coating the chicken in a dark amber layer. If the sauce reduces too quickly or starts to smell burnt rather than caramelised, add a small splash of water and continue. The finished chicken should be deeply lacquered, dark, shiny, with a smell of caramelised soy and mirin.
Step 6: Rest and serve
Remove the chicken from the pan and rest for 3-4 minutes before serving. The residual juices in the pan are the sauce, spoon them over the plated chicken.
What can you do with leftover teriyaki sauce?
The tare left in the pan after cooking is worth saving. In Japanese cooking, this style of all-purpose glaze sauce is called banno-dare (万能タレ), which translates roughly as all-purpose sauce. Kept in a sealed jar in the refrigerator, it holds for 2 weeks.
Use it as a finishing glaze on salmon, tofu, or aubergine. Add a tablespoon to a bowl of rice with a raw egg yolk for tamago kake gohan with teriyaki depth. Thin it with a small amount of dashi and use it as a dipping sauce for gyoza or agedashi tofu. The same sauce that glazes chicken works across almost any Japanese application where you want sweetness, salt, and gloss simultaneously.
How do you store and reheat teriyaki chicken?
Teriyaki chicken keeps in the refrigerator for 3 days. The glaze softens and becomes slightly sticky overnight but the flavour deepens.
To reheat: place in a pan over medium heat with a small splash of water. Cover and heat for 3-4 minutes until hot through. The steam rehydrates the glaze. Alternatively, slice the chicken and heat briefly in a dry pan, the sliced surface re-caramelises quickly. Do not microwave whole pieces, it makes the skin rubbery and destroys the glaze texture.
Love Japanese food?
Check out my complete guide to Japanese home cooking, pantry essentials, and techniques.
FAQ
What is the difference between hon-mirin and regular mirin? Hon-mirin (本みりん) is real mirin made from glutinous rice, koji, and alcohol, approximately 14% ABV with complex natural sugars that caramelise into a genuine lacquer glaze. The product sold next to it in supermarkets labelled aji-mirin or みりん風調味料 is a synthetic substitute made from corn syrup and glucose. It produces a stickier, less complex glaze. The Japanese characters on the label tell you which you have: 本みりん is hon-mirin. Look for it at Asian grocery stores.
Can I use chicken breast instead of thighs? Breast works but requires more care. It has less fat than thigh, dries out faster, and does not produce the same rendered-fat skin effect. If using breast, skip the cold-pan start (it is less relevant without the skin-fat dynamic) and cook on medium-high heat. Reduce the cooking time, breast cooks through faster than thigh. Baste with the same technique. The glaze will be the same quality but the meat is less forgiving of any timing errors.
Why does my teriyaki glaze taste sweet but flat? Usually the mirin. If you used aji-mirin or mirin-style seasoning rather than hon-mirin, the simple sugars produce sweetness without the complex fermented depth of the real product. Switch to hon-mirin. The second possibility is insufficient reduction, the sauce needs to cook down until it is concentrated and thick rather than watery. More basting rounds and more reduction time between each application.
Can I make teriyaki sauce in advance? Yes. Combine all four ingredients in a small saucepan, bring to a simmer, and reduce by approximately one third. Cool and store in a sealed jar in the refrigerator for up to 2 weeks. Use as needed. Pre-reduced sauce goes further in fewer basting rounds because it is already partially concentrated. Adjust the basting time accordingly.
You might also like: Check out our complete Japanese cooking guide for more essential ingredients and techniques.
Japanese Teriyaki Chicken Recipe (照り焼き)
PT10M
PT25M
PT35M
Nutrition Facts
Ingredients
- 4 bone-in skin-on chicken thighs (approximately 800g / 1lb 12oz total)
- ½ tsp neutral oil
- Salt (very light pinch before cooking)
- 4 tbsp soy sauce
- 4 tbsp hon-mirin (本みりん, not aji-mirin)
- 4 tbsp sake
- 2 tbsp white sugar
- Steamed short-grain Japanese rice
- Shredded daikon radish or julienned spring onion
- Toasted sesame seeds
- Shichimi togarashi (optional)
Instructions
- Step 1: Score and prepare the chicken - Place each chicken thigh skin-side up. Using a sharp knife, make 3-4 shallow cuts through the skin and into the flesh at the thickest part, this prevents the skin from contracting and buckling during cooking and ensures even heat penetration to the centre. Pat completely dry with kitchen paper. A dry surface produces better skin contact with the pan. Season with a very light pinch of salt.
- Step 2: Mix the sauce - Combine soy sauce, hon-mirin, sake, and sugar in a small bowl or jug. Stir until the sugar dissolves. Set aside.
- Step 3: Cold-pan skin-down start - Place a heavy pan or cast iron skillet over medium heat. Add the oil and swirl to coat. Place the chicken thighs skin-side down in the pan before the pan is fully hot. You should hear a gentle sizzle rather than a sharp crack. Cook skin-side down for 7-9 minutes without moving. The fat will render gradually and you will hear the sizzle increase as the moisture cooks off. Check the skin colour periodically by lifting one edge, you are looking for kitsune-iro, an even warm amber across the entire skin surface. If some areas are still pale, press gently with a spatula to improve contact.
- Step 4: Flip and cook through - Flip the chicken. Cook on the flesh side for 4-5 minutes until the thickest part is cooked through. Check by pressing, fully cooked chicken feels firm rather than soft when pressed. If the thighs are very thick, cover the pan for the final 2 minutes to ensure the centre cooks through without over-browning the surface.
- Step 5: Layer the basting - Pour the sauce into the pan around the chicken. It will bubble immediately. Tilt the pan and spoon the sauce over the chicken. Turn the chicken to coat the skin side. Let the sauce reduce for 30-45 seconds until it begins to stick lightly to the pan surface. Turn again. Spoon more sauce over. Reduce again. Repeat this process 3-4 times total over 3-4 minutes. Between bastings, the sauce in the pan should be glossy and coating the chicken in a dark amber layer. If the sauce reduces too quickly or starts to smell burnt rather than caramelised, add a small splash of water and continue. The finished chicken should be deeply lacquered, dark, shiny, with a smell of caramelised soy and mirin.
- Step 6: Rest and serve - Remove the chicken from the pan and rest for 3-4 minutes before serving. The residual juices in the pan are the sauce, spoon them over the plated chicken. Serve over Japanese short-grain rice with shredded daikon or spring onion alongside.
Did you make this recipe?
Tag @asianfoodsdaily on Instagram or leave a comment below!
About Asha
Half Asian, half African cook raised between two food-obsessed cultures. I've spent 10 years learning Asian cooking traditions through family, friends, and thousands of hours at the stove — testing every dish until it works in a standard home kitchen.
Read my full storyRelated Recipes
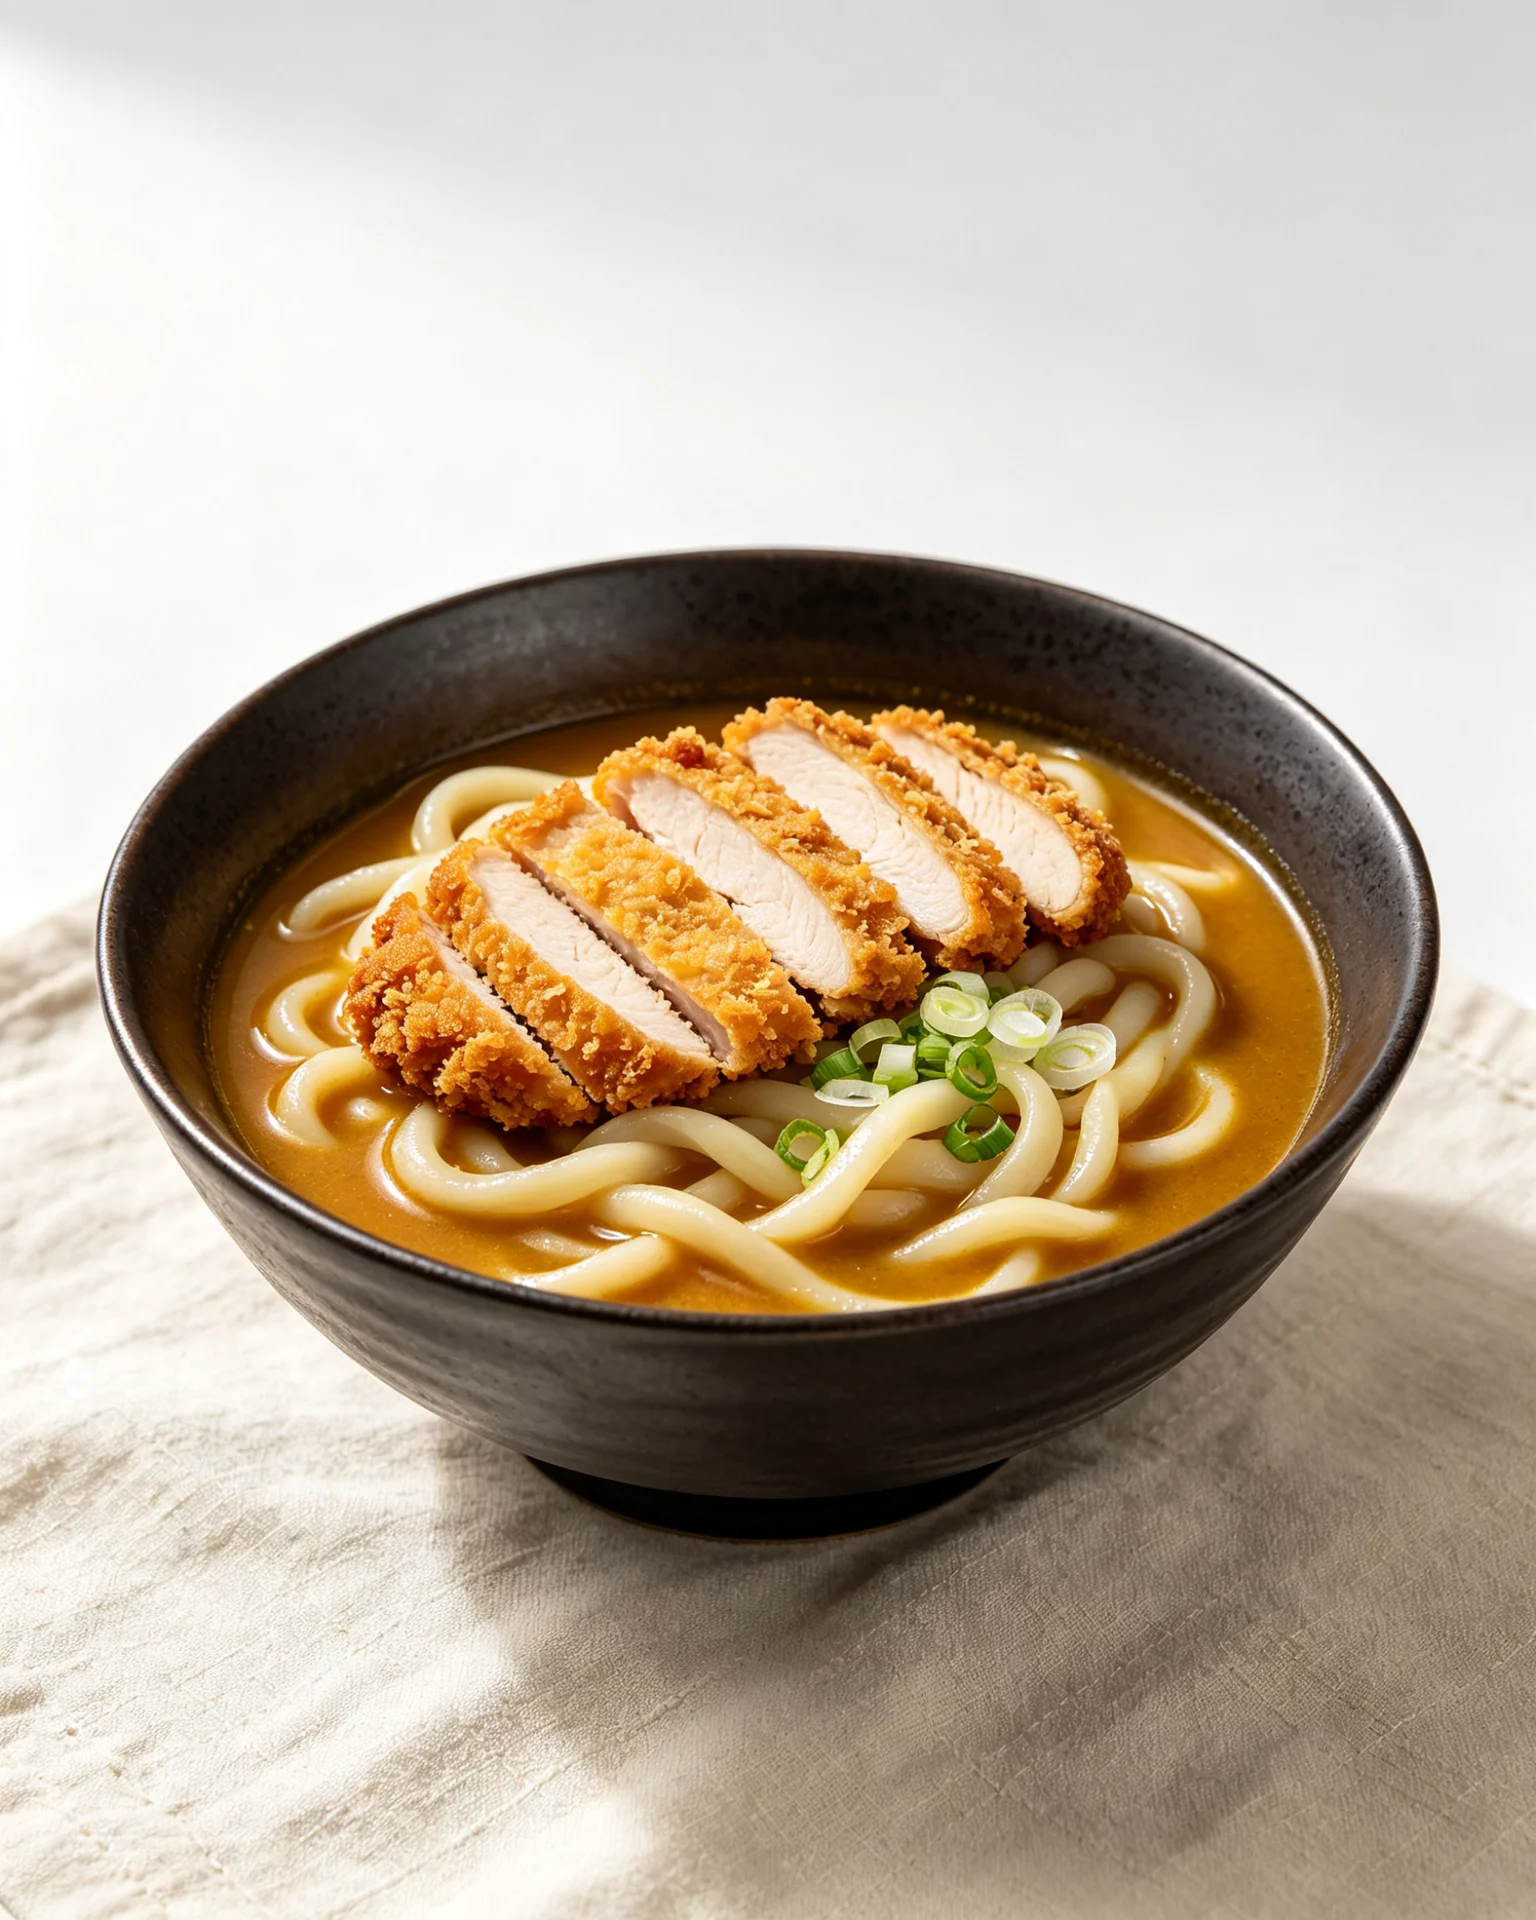
Chicken Katsu Curry Udon (チキンカツカレーうどん)

How to Make Japanese Fried Chicken (Karaage)

Hibachi Chicken Recipe (Teppanyaki)

Spicy Miso Chicken Thighs

Japanese Carrot Ginger Dressing (Restaurant-Style)

Loading comments...