Quick Tuna Tataki Recipe

Tuna tataki is a Japanese dish of lightly seared, thinly sliced raw tuna served with a citrus-soy ponzu dipping sauce. The exterior is flash-seared over high heat for 15–20 seconds per side, leaving the interior almost entirely raw. Served chilled and sliced, it is finished with grated daikon, scallions, and sesame seeds. Ready in under 20 minutes, it delivers restaurant-quality results at home with just five core ingredients.
What Is Tuna Tataki?
According to Wikipedia’s entry on Tataki, the term covers two Japanese preparation methods: one involves finely chopping an ingredient (tataku — “to pound”), and the better-known version briefly sears fish or meat over high heat while leaving the centre raw. Tuna tataki (maguro tataki) belongs to the latter tradition — close to sashimi in concept, but with a brief char and bright ponzu dressing that give it a distinct, caramelised character. The technique traces back to Kōchi Prefecture on Shikoku island, where bonito tataki remains the defining regional dish.
Why This Recipe Works
Success with tuna tataki comes down to three variables: fish quality, temperature control, and sear timing. Here is what testing revealed across five batches before landing on the optimal method.
Recipe Testing Notes
- Batch 1 — Baseline: Supermarket tuna, 45 seconds per side in a non-stick pan. Result: grey, chalky, steamed interior. Non-stick pans cannot reach the sustained temperature a proper Maillard crust demands. Failure.
- Batch 2 — Partially frozen, cast iron: Better exterior crust, but the core was too cold to slice cleanly. Works only when fish is 35–38°F (1–3°C) — cold but never ice-hard.
- Batch 3 — Sashimi-grade, cast iron, avocado oil: Pan preheated 3 full minutes. Seared 15 seconds per side plus 5 seconds per long edge. Interior beautifully rare, crust clean and golden. This was the breakthrough batch.
- Batch 4 — Kitchen torch alternative: Even, controllable sear on narrow loins. Slightly less Maillard depth than cast iron but preferred by testers for precision work.
- Batch 5 — Ponzu variations: Homemade ponzu (yuzu, soy, mirin, dashi) produced a noticeably brighter, cleaner flavour. Store-bought Kikkoman ponzu remained a reliable time-pressed substitute.
- Optimal result: Sashimi-grade ahi loin, seasoned and patted completely dry immediately before the pan, seared 15 seconds per side in screaming-hot cast iron, then chilled for 10 minutes before slicing.
Tuna Tataki Ingredients
Tuna:
- 300 g (10 oz) sashimi-grade ahi (yellowfin) tuna loin, block-cut
- 1 tbsp avocado oil (smoke point ~520°F/270°C)
- ½ tsp fine sea salt, ¼ tsp white pepper
Ponzu dipping sauce:
- 3 tbsp soy sauce (low-sodium preferred)
- 2 tbsp fresh yuzu juice (or equal parts fresh lemon and lime)
- 1 tbsp mirin, 1 tsp rice vinegar
- 1 tsp dashi stock (or a pinch of dashi powder in warm water)
Garnishes:
- 3 tbsp grated daikon (lightly squeezed), 2 scallions (finely sliced), 1 tsp toasted sesame seeds
- Thin lemon or yuzu slices, shiso leaves (optional but traditional)
Equipment
- Cast iron skillet — Non-negotiable for heat retention. Produces the deepest Maillard crust in the shortest time. A 10-inch skillet is ideal; carbon steel is an equal alternative.
- Kitchen torch — Best for narrow loins or cooking multiple pieces. Precise, no steam, excellent control.
- Sharp chef’s knife or yanagiba (sashimi knife) — A dull blade compresses the raw interior and tears the seared crust. Chill the knife in the fridge for 10 minutes before slicing.
- Instant-read thermometer — Optional but useful. Target a pull temperature of 90–95°F (32–35°C) in the pan to account for carryover. At 95°F in the pan, the centre arrives at the plate around 105–110°F — still fully raw-textured.
- Silicone tongs — For holding loin edges against the pan without piercing the flesh.
How to Make Tuna Tataki (Step-by-Step)
1. Make the ponzu (up to 24 hours ahead) Whisk together soy sauce, yuzu juice, mirin, rice vinegar, and dashi in a small bowl. Refrigerate. Resting overnight deepens and mellows the flavour considerably — this step alone separates a great tataki from a flat one.
2. Prepare the tuna Remove from the fridge 10 minutes before searing so it is cold but not icy. Do not season yet — wait until immediately before it hits the pan (see note below). Pat every surface dry with paper towels: three passes minimum.
3. Season immediately before searing Season all surfaces with salt and white pepper directly before the tuna goes into the pan. Salt is a humectant — it draws moisture to the surface. Seasoning even one minute early and not re-patting creates surface moisture that will steam rather than sear the fish. If any brine appears on the surface after seasoning, give it one final pat-dry before it touches the oil.
4. Heat the pan Place cast iron over maximum heat for 3 full minutes until it just begins to smoke. Add avocado oil and swirl to coat. It should shimmer and begin to smoke within 10 seconds.
5. Sear Lay the tuna into the pan. Sear for exactly 15 seconds without moving. Flip and sear the opposite side for 15 seconds. Using tongs, hold each long edge against the pan for 5 seconds. Total contact time: approximately 60 seconds. A clean 2–3 mm golden-brown crust should be visible around the entire perimeter.
6. Ice bath or chill For the quickest carryover arrest: wrap the seared loin tightly in plastic wrap and submerge it in an ice-water bath for 2 minutes. This stops the heat instantly and firms the fish for perfectly clean slicing. Alternatively, transfer to a cold plate and refrigerate for 10 minutes.
7. Slice against the grain Using a sharp, chilled knife, identify the directional lines of the muscle fibres running along the loin — they are visible as faint parallel striations. Slice perpendicular to those fibres (against the grain) into 7–8 mm slices. This severs the muscle fibres rather than pulling them apart, producing a melt-in-your-mouth texture rather than a chewy one.
8. Plate and serve Fan the slices on a chilled serving plate. Add grated daikon on the side, scatter scallions and sesame seeds over the top, and arrange lemon or yuzu slices decoratively. Drizzle 2–3 tablespoons of ponzu over the fish or serve it in a small dipping bowl alongside. Serve immediately.
If you enjoy bold, umami-forward Japanese flavours built around a minimal soy-mirin framework, the guide on how to make authentic Japanese teriyaki chicken applies the same precision-over-quantity approach with equally clean results.
Anatomy of a Perfect Slice
Use this quick visual self-check after cutting the first slice:
| Feature | Goal | Sign of Trouble |
|---|---|---|
| Outer ring | 2–3 mm wide, golden-brown | Grey/white ring deeper than 5 mm — overcooked |
| The core | Translucent, deep ruby red | Opaque pink — heat penetrated too deep |
| The edge | Sharp, clean lines | Ragged, torn edges — dull knife or warm fish |
Common Substitutions
- Tuna → salmon: Sashimi-grade salmon works with the same technique and is slightly more forgiving on timing. See the Asian glazed salmon recipe for a complementary soy-citrus preparation.
- Yuzu → lemon + lime: A 50/50 blend works well; it lacks yuzu’s floral depth but is a solid stand-in.
- Daikon → cucumber: Grated or thinly sliced cucumber adds similar cooling crunch.
- Ponzu → store-bought: Kikkoman or Mizkan ponzu are the most widely available and acceptable alternatives.
Pro Tips
Step 1: — sashimi-grade from a
Buy the best tuna available — sashimi-grade from a reputable fishmonger. Tell them it will be served near-raw.
Step 2: — directly before the
Season at the last possible moment — directly before the pan, with one final pat-dry if any moisture appears after seasoning.
Step 3: — 15 seconds per
Set a timer — 15 seconds per side is a hard rule.
Step 4: — always
Chill before slicing — always. Warm tuna compresses under the knife and tears the crust.
Step 5: — 24 hours of
Make the ponzu the day before — 24 hours of resting dramatically deepens the flavour.
Common Mistakes to Avoid
- Using non-sashimi-grade tuna — standard supermarket fish is not tested for safe raw consumption
- Seasoning too early without a final pat-dry — surface moisture converts your sear into a steam
- Using a lukewarm pan — it gently cooks rather than instantly chars the exterior
- Searing more than one piece at a time — each piece drops pan temperature significantly
- Skipping the chill — carryover heat continues cooking the fish for several minutes after it leaves the pan
- Slicing too thin (under 5 mm tears apart) or too thick (over 10 mm shifts the raw-to-seared ratio)
Easy Variations
Sesame-crusted tataki: Press the loin into a mixture of black and white sesame seeds on all sides before searing. The seeds toast during the cook and add a nutty crunch to every slice.
Spicy tataki: Stir 1 tsp togarashi into the ponzu and finish each plated portion with a thin stripe of spicy mayo (2:1 Japanese mayo to sriracha).
Tataki salad bowl: Slice the tataki over mixed greens, cucumber, and avocado. Thin the ponzu with a little sesame oil and use it as dressing — this format bridges tataki and a nutritious tuna poke bowl for a more casual, weeknight-friendly presentation.
Serving Suggestions
Tuna tataki works as a starter or light main alongside steamed Japanese rice, chilled soba noodles, miso soup, or an izakaya spread of edamame and pickled ginger. For drinks: cold Japanese lager, dry junmai sake, or a crisp Sauvignon Blanc. As a starter before a heartier main, the Japanese-style teriyaki beef bowl uses the same soy-mirin flavour language in a richer, more filling format.
Storage and Reheating
Sliced tataki: Airtight container, refrigerator, up to 24 hours. Unsliced seared loin: Wrap first in a dry paper towel (absorbs surface moisture and keeps the crust from softening), then tightly in plastic wrap. Keeps for up to 48 hours. Freezing: Not recommended — damages the raw interior texture. Reheating: Not applicable. Tuna tataki is a cold dish; serve from the refrigerator or at ~55°F/13°C.
Nutrition Information
Per serving (4 servings, ~75 g tuna each, with ponzu)
| Nutrient | Per Serving |
|---|---|
| Calories | ~155 kcal |
| Protein | 26 g |
| Total Fat | 4 g |
| Carbohydrates | 4 g |
| Sodium | 680 mg |
| Omega-3 Fatty Acids | ~1.1 g |
Values are estimates; they will vary based on exact ingredients and portion size.
Love Japanese food?
Check out my complete guide to Japanese home cooking, pantry essentials, and techniques.
Frequently Asked Questions
1. What does “sashimi-grade” tuna mean? The term signals the fish has been handled with raw consumption in mind — typically super-frozen at -40°F (-40°C) to eliminate parasites, as the FDA recommends. Always buy from a reputable fishmonger and confirm it is intended for raw service. When in doubt, ask directly.
2. Can I make tuna tataki without a cast iron pan? Yes. Carbon steel performs equally well. A fully preheated stainless steel pan also works. Avoid non-stick — it cannot sustain the temperatures needed for a true sear. A kitchen blowtorch is an excellent and often preferred alternative for narrow loins.
3. How do I know the tuna is properly seared without overcooking it? Visually: each slice should show a 2–3 mm opaque golden-brown band around the perimeter with a deep ruby-red, translucent centre. If using a thermometer, pull the tuna from the pan at 90–95°F (32–35°C) internal. Carryover heat will bring the centre to around 105–110°F on the plate — right in the ideal raw-textured zone.
4. Is tuna tataki safe to eat? When prepared with sashimi-grade tuna from a reputable source, it is safe for healthy adults. Pregnant women, immunocompromised individuals, the elderly, and young children should consult a healthcare provider before consuming near-raw fish. The FDA recommends freezing fish at -4°F (-20°C) for 7 days to eliminate parasites before raw service.
5. What is the difference between tuna tataki and tuna sashimi? Sashimi is completely raw and receives no heat at all. Tataki is briefly seared — about 15 seconds per side — leaving the outer 2–3 mm cooked while the interior stays raw. Tataki is always served with ponzu; sashimi is presented with soy sauce and wasabi. The sear adds a layer of smoky, caramelised flavour and aroma that sashimi, by nature, cannot have.
Final Note
Tuna tataki rewards precision more than almost any other home recipe. The active cook time is under 90 seconds, which means fish quality, moisture control, and knife work all carry outsized weight — but there is very little to go wrong once those variables are managed. Season at the last moment, pat dry one final time, trust the timer, and always chill before slicing. The result looks and tastes like a high-end Japanese restaurant dish, assembled in your kitchen in under 20 minutes.
You Might Also Like — If this recipe hit the spot, you might also enjoy our nutritious tuna poke bowl — another raw-tuna classic in a casual bowl format with avocado, edamame, and sesame-soy dressing — or our guide to authentic Japanese teriyaki chicken using the Golden Ratio soy-mirin glaze, the best Asian glazed salmon with caramelized crispy edges in 20 minutes, and the Japanese-style teriyaki beef bowl with paper-thin ribeye over steamed rice, ready in 30 minutes.
You might also like: Check out our complete Japanese cooking guide for more essential ingredients and techniques.
Quick Tuna Tataki Recipe
Japanese, High‑Heat Cooking, Tuna
PT10M
PT1M
Under 20 PT20M
Nutrition Facts
Ingredients
- 300 g (10 oz) sashimi-grade ahi (yellowfin) tuna loin, block-cut
- 1 tbsp avocado oil (smoke point ~520°F/270°C)
- ½ tsp fine sea salt, ¼ tsp white pepper
- 3 tbsp soy sauce (low-sodium preferred)
- 2 tbsp fresh yuzu juice (or equal parts fresh lemon and lime)
- 1 tbsp mirin, 1 tsp rice vinegar
- 1 tsp dashi stock (or a pinch of dashi powder in warm water)
- 3 tbsp grated daikon (lightly squeezed), 2 scallions (finely sliced), 1 tsp toasted sesame seeds
- Thin lemon or yuzu slices, shiso leaves (optional but traditional)
Instructions
- Make the ponzu (up to 24 hours ahead)
- Prepare the tuna
- Season immediately before searing
- Heat the pan
- Sear
- Ice bath or chill
- Slice against the grain
- Plate and serve
Did you make this recipe?
Tag @asianfoodsdaily on Instagram or leave a comment below!
About Asha
Half Asian, half African cook raised between two food-obsessed cultures. I've spent 10 years learning Asian cooking traditions through family, friends, and thousands of hours at the stove — testing every dish until it works in a standard home kitchen.
Read my full story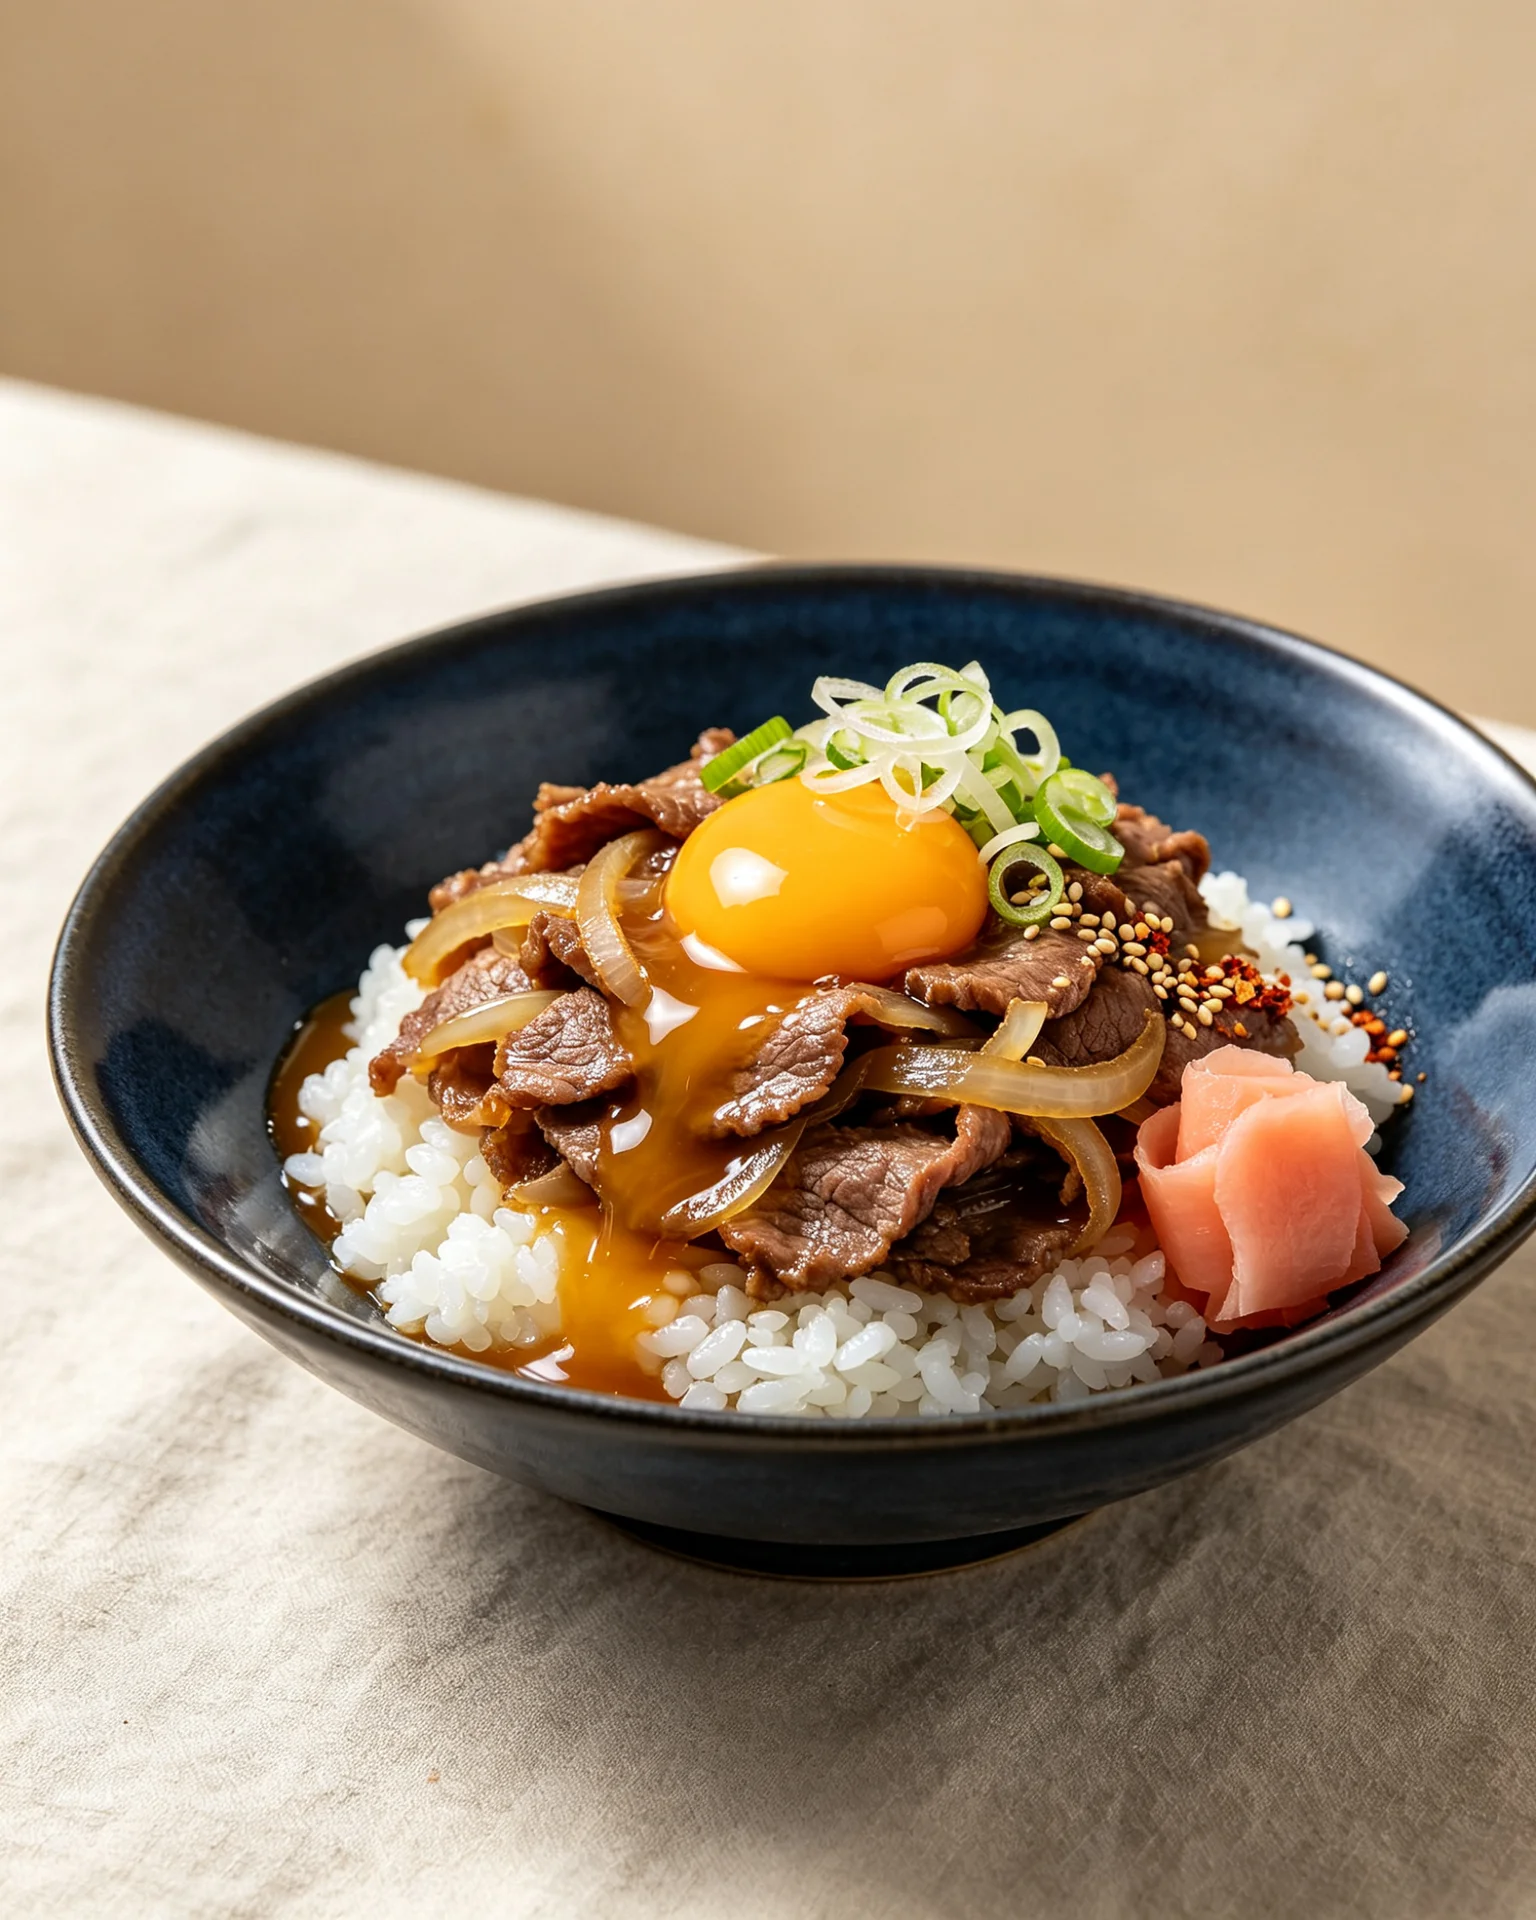


Loading comments...