How to Make Crispy Honey Garlic Chicken

Crispy Honey Garlic Chicken is a Chinese-American dish featuring double-coated fried chicken tossed in a glossy, sweet-savory honey garlic sauce. The key to getting it right is a cornstarch-heavy dredge, oil at 160–180°C (320–355°F), and adding the sauce off-heat to preserve crunch. Active prep time: 50 minutes. Serves 4.
What Is Honey Garlic Chicken ?
Crispy Honey Garlic Chicken is a takeout-style dish in which bite-sized pieces of chicken thigh or breast are coated in a seasoned cornstarch-flour batter, double-fried until deeply golden, then tossed in a sticky sauce built from honey, soy sauce, fresh garlic, and rice vinegar. It sits in the same family of Chinese-American classics as sweet and sour chicken — dishes where the contrast between a shatteringly crisp exterior and a syrup-like glaze is the entire point.
The dish balances umami from soy sauce, natural sweetness from honey, sharpness from raw garlic, and just enough tang to prevent the glaze from feeling cloying. Fast, crowd-pleasing, and genuinely better than most takeout versions when made with proper technique.
Why This Recipe Works
The core challenge with honey garlic chicken is maintaining crunch after the sauce is added. Most home recipes fail because the sauce hits the chicken while still in a hot pan, trapping steam against the coating and softening it within seconds.
Recipe Testing Notes
Across five tested batches, here is what was learned:
- Batch 1 (baseline): All-purpose flour dredge only. Result: pale, thick coating that turned rubbery within minutes of saucing. Failure.
- Batch 2 (cornstarch only): Dramatically crispier crust, but fragile — chipped and fell away easily. Acceptable, not optimal.
- Batch 3 (50/50 flour and cornstarch + double fry): The double-fry method — 3 minutes at 160°C, rest 2 minutes on a rack, return for 90 seconds at 180°C — produced the best structural crunch and held up well after saucing.
- Batch 4 (adding egg white to batter): Improved adhesion significantly. The coating gripped the chicken better and held color through both fries. Kept in final recipe.
- Batch 5 (final): 50/50 blend with egg white, double-fried, sauce added off-heat in a bowl. Outstanding — crispy, glossy, and still crunchy 10 minutes after plating.
Alternatives tried: Rice flour (grainy texture), baking powder in batter (unpleasant aftertaste), maple syrup instead of honey (overpowering sweetness). Honey remains the best option.
The Maillard reaction — the browning process that occurs when proteins and sugars react under heat — is what produces the coating’s deep golden color and complex savory flavor. Cornstarch accelerates this reaction compared to flour alone, which is why the 50/50 blend outperforms either ingredient used solo.
Crispy Honey Garlic Chicken Ingredients
For the chicken:
- 700g (1.5 lb) boneless chicken thighs (preferred) or breasts, cut into 4cm (1.5 inch) pieces — bring to room temperature 15–20 minutes before frying
- 1 egg white
- ½ tsp salt
- ½ tsp freshly ground white pepper (pre-ground loses potency; freshly ground is noticeably sharper)
- ½ tsp garlic powder
- 60g (½ cup) cornstarch
- 60g (½ cup) all-purpose flour
- Neutral oil for frying — canola, vegetable, or peanut
For the honey garlic sauce:
- 12–15g garlic, finely minced (approximately 4 tsp — clove sizes vary, so weight or volume is more reliable than a clove count)
- 80ml (⅓ cup) honey
- 3 tbsp light soy sauce
- 1–2 tbsp rice vinegar (1 tbsp for a sweeter glaze; 2 tbsp for a more balanced, less cloying result)
- 1 tsp sesame oil
- 1 tsp cornstarch mixed with 2 tbsp cold water (slurry)
- 1 tbsp neutral oil
To garnish:
- Sliced spring onions
- Toasted sesame seeds
- Dried chili flakes (optional)
Equipment
- Heavy-bottomed saucepan or Dutch oven — More forgiving than a wok for temperature stability. A wok recovers heat faster between batches and delivers better results in practiced hands, but requires reading oil behavior by sight and sound — a skill that takes time. For beginners, the Dutch oven is more reliable.
- Instant-read thermometer — Strongly recommended. Oil below 155°C produces greasy, pale chicken; above 190°C burns the coating before the interior cooks. No thermometer? Use the chopstick test: a wooden chopstick inserted into the oil should produce steady small bubbles at 160°C and vigorous, larger bubbles at 180°C.
- Wire rack over a baking sheet — Essential. Paper towels trap steam against the underside of the coating and destroy crunch within 60 seconds. A rack maintains airflow on all sides.
- Spider strainer or slotted spoon — For safe, controlled removal from hot oil.
- Small separate saucepan for sauce — Keeps sauce-making independent from the frying vessel and gives precise control during the thickening step.
How to Make Crispy Honey Garlic Chicken
Step 1: Remove from the fridge
Rest the chicken. Remove from the fridge 15–20 minutes before cooking. Cold chicken dropped into hot oil drops the temperature sharply and leads to uneven cooking.
Step 2: Pat pieces completely dry
Prep and marinate. Pat pieces completely dry with paper towels — surface moisture prevents browning. In a bowl, combine chicken, egg white, salt, white pepper, and garlic powder. Toss well and rest for 10 minutes.
Step 3: Mix cornstarch and flour
Set up a dredging station. Mix cornstarch and flour in a wide, shallow bowl. Use your dominant hand for dredging (dry) and the other for handling raw chicken (wet). This wet-hand/dry-hand method prevents the coating from clumping into wet lumps that crack during frying. Press dredge firmly onto each piece; shake off all excess.
Step 4: Pour 5–6cm (2 inches
Heat the oil. Pour 5–6cm (2 inches) of neutral oil into your saucepan — this depth maintains more stable temperature recovery between batches than shallower amounts. Heat to 160°C (320°F).
Step 5: Fry for 3 minutes
First fry — in batches of 6–8 pieces. Fry for 3 minutes. The chicken will be pale and just cooked through. Remove each piece to the wire rack in a single layer — never stacked. Rest for 2 full minutes on the rack (not on paper towels) while the oil returns to 180°C (355°F). Allow the oil to fully recover before starting the next batch.
Step 6: Return pieces to the
Second fry. Return pieces to the oil for 60–90 seconds until deep golden. Remove to the rack immediately in a single layer.
Step 7: Heat 1 tbsp oil
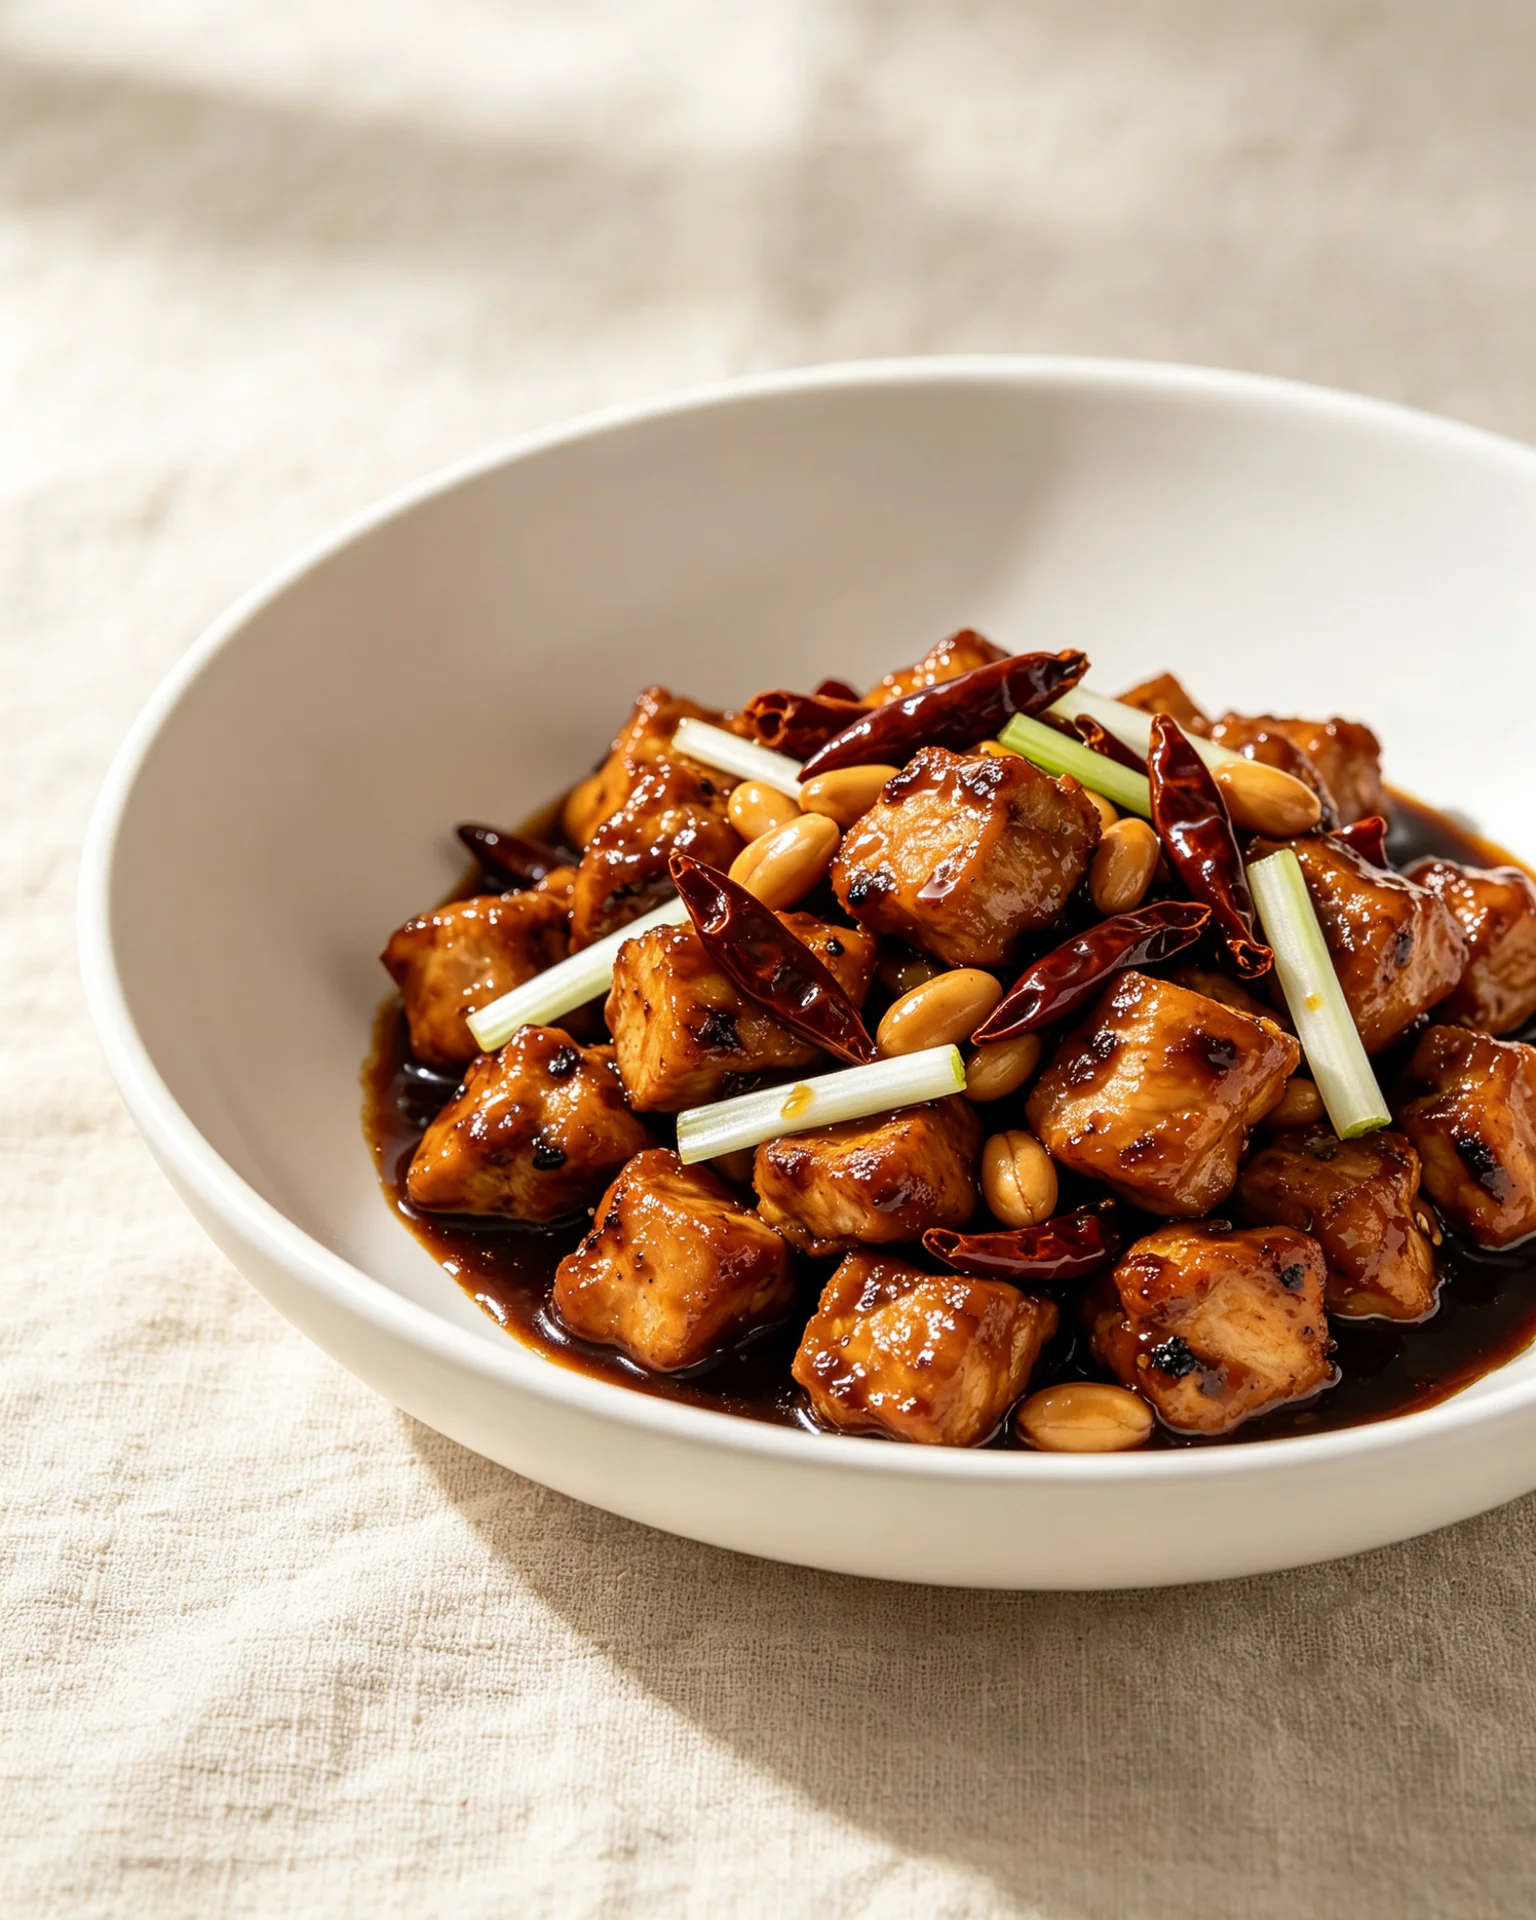
Make the sauce. Heat 1 tbsp oil in your small saucepan over medium heat. Add the minced garlic. For maximum aromatic punch, sauté 45 seconds until fragrant. For a sweeter, mellower result, cook 2–3 minutes until lightly golden. Add honey, soy sauce, rice vinegar, and sesame oil. Stir. Add the cornstarch slurry and stir constantly for 30–45 seconds until thickened. Use the nappe test: sauce should coat the back of a spoon and hold a clean line when you drag your finger through it. Remove from heat.
Step 8: Transfer fried chicken to
Combine off-heat. Transfer fried chicken to a large bowl. Pour sauce over and fold gently with two spoons to coat without shattering the crust. Serve within 5 minutes — the sauce continues to absorb into the coating via capillary action even at room temperature, progressively softening the exterior the longer it sits.
Common Substitutions
- Chicken: Thighs are recommended — juicier and more forgiving. Breasts work but dry out faster. For a vegetarian version, use well-pressed firm tofu or cauliflower florets — the double-fry technique applies equally well to both.
- Honey: Agave syrup at 1:1 produces a slightly less floral glaze. Brown sugar dissolved in 1 tbsp warm water works but shifts the flavor.
- Soy sauce: Tamari for gluten-free. Coconut aminos for lower sodium (expect a sweeter, milder sauce).
- Rice vinegar: Apple cider vinegar at half the quantity. Avoid white distilled vinegar — too harsh.
- All-purpose flour: For a fully gluten-free coating, use rice flour at equal proportions with cornstarch.
Pro Tips
- Dry the chicken completely. Surface moisture prevents the Maillard reaction, producing a pale, soft crust.
- Don’t skip the inter-fry rest. Two minutes on the rack lets interior steam escape and the crust firm before going back into hotter oil.
- Use fresh garlic, not paste. Freshly minced garlic gives the sauce its characteristic sharp bite. Jarred paste produces a flat result.
- Wait for oil recovery between batches. Always let the oil return to 160°C before adding the next batch, or you’ll get greasy, pale chicken.
- Sauce off-heat, always. Combining in a hot pan creates a steam trap that undoes the entire double-fry effort.
Common Mistakes to Avoid
- Cold chicken straight from the fridge. Drops oil temperature sharply and causes uneven cooking. Rest at room temperature first.
- Skipping temperature monitoring. Guessing oil heat is the most common source of failure in this recipe.
- Overcrowding the pan. More than 6–8 pieces in a standard 3-quart Dutch oven drops oil temperature too far. Multiple batches, no exceptions.
- Stacking cooked chicken. Steam trapped between pieces softens the crust within minutes. Single layer on a rack at all times.
- Adding sauce in the pan. This one error invalidates all the effort put into the coating. Bowl, off-heat, every time.
Easy Variations
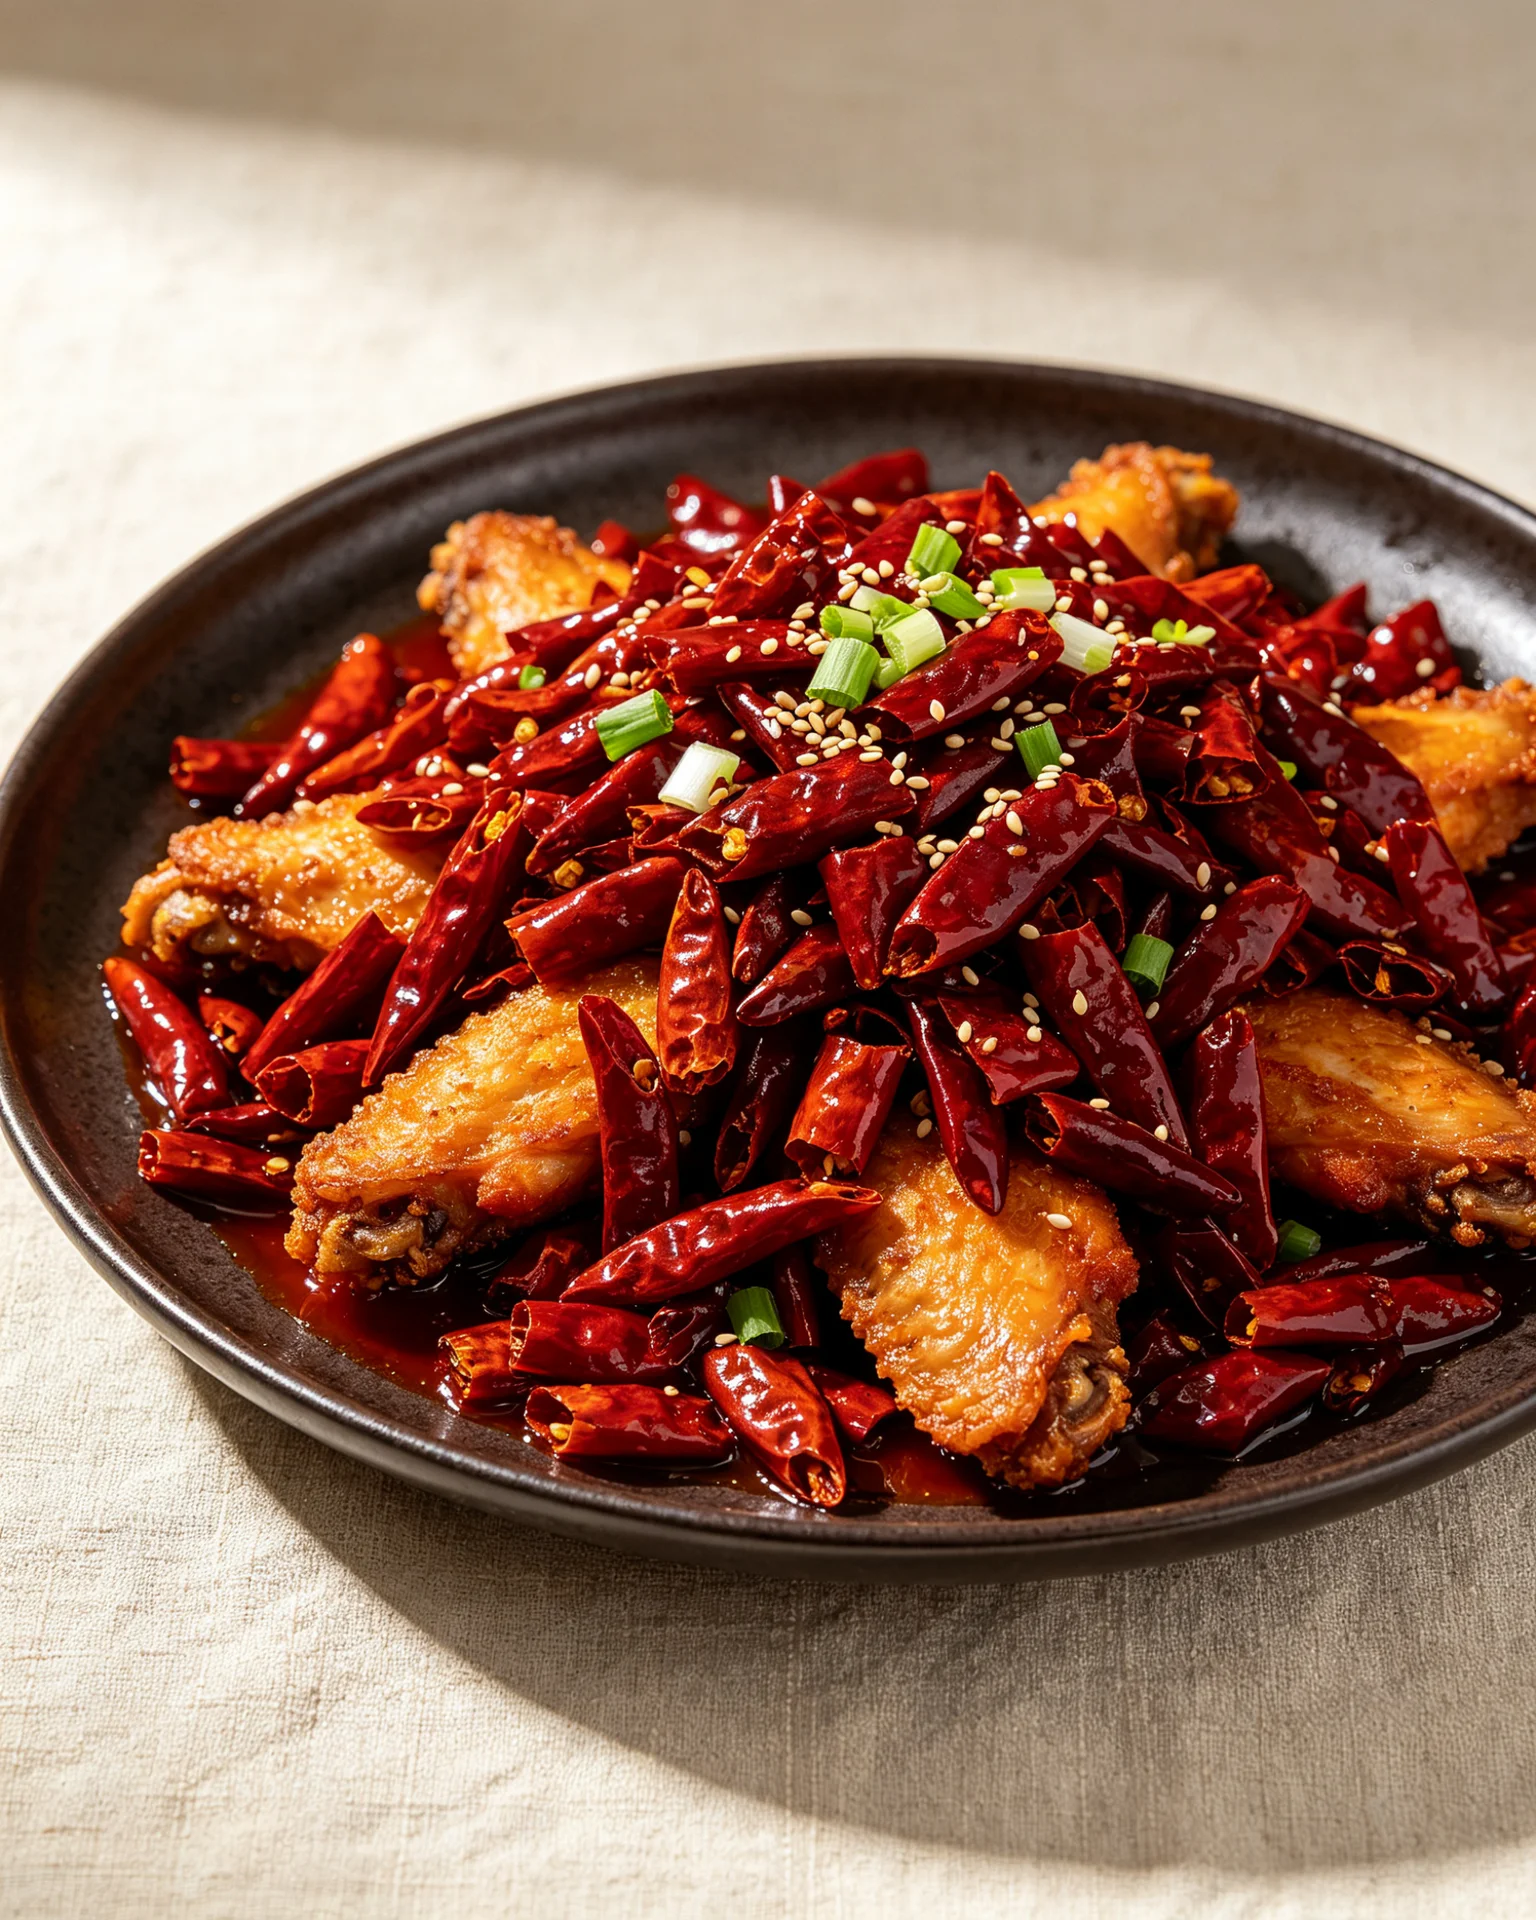
Spicy Honey Garlic Chicken: Add 1–2 tsp gochujang or sambal oelek to the sauce. For an even bolder heat profile, the Kung Pao Chicken recipe makes an excellent companion dish.
Lemon Honey Garlic Chicken: Swap half the rice vinegar for fresh lemon juice and stir in 1 tsp lemon zest. Bright and fresh — good over thin rice noodles.
Baked Version: Toss dredged chicken in 2 tbsp oil and bake at 220°C (425°F) on a wire rack for 20–22 minutes, flipping once. Crispier than expected for oven-baked, but won’t match the deep-fry result. Sauce off-heat in a bowl as written.
Sesame Honey Garlic Chicken: Add 1 tbsp extra toasted sesame oil and double the sesame seed garnish. Sits close to the sesame chicken recipe here, but with a sharper garlic bite.
Serving Suggestions
- Steamed jasmine rice — The natural pairing. Rice absorbs extra sauce from the bowl.
- Egg fried rice — Adds another layer of savory depth.
- Stir-fried bok choy or broccoli — Bitterness cuts through the richness of the glaze.
- Wide flat rice noodles — Toss in residual sauce first, then plate the chicken on top.
- Lettuce cups — A lighter, lower-carb presentation with pickled cucumber and spring onions.
For a complete takeout-style spread, pairing this alongside Bang Bang Chicken Skewers covers crispy, glazed, and spicy in one easy party spread.
Storage and Reheating
Store cooled leftovers in an airtight container in the fridge for up to 3 days. The coating softens once sauced — unavoidable. To partially restore crunch, spread on a wire rack and heat in an oven or air fryer at 200°C (400°F) for 6–8 minutes. Avoid the microwave — it steams the coating flat. For best results, freeze the fried, unsauced chicken (up to 2 months) and sauce after reheating from frozen at 200°C for 12–14 minutes.
Nutrition Information
Per serving (4 servings, chicken thighs, approximately 10% oil absorption from deep frying):
| Nutrient | Amount |
|---|---|
| Calories | ~640 kcal |
| Protein | 35g |
| Carbohydrates | 40g |
| Fat | 32g |
| Saturated Fat | 6g |
| Sodium | 820mg |
| Sugar | 22g |
Values are estimates. Actual figures vary based on oil absorption rate, exact honey volume, and whether thighs or breasts are used.
Frequently Asked Questions
1. Can I use an air fryer instead of deep-frying? Yes. Spray dredged chicken generously with cooking oil spray and air-fry at 200°C (400°F) for 16–18 minutes, flipping halfway. Crispier than baking but won’t fully replicate deep-fry texture. Apply sauce in a bowl off-heat as normal.
2. Why is my coating falling off during frying? Two likely causes: the chicken wasn’t fully dry before dredging, or pieces were moved too soon in the oil. Let each piece settle undisturbed for 30–45 seconds. The crust bonds to the surface as it sets — moving it too early breaks it loose.
3. Can I make the sauce ahead of time? Yes — up to 3 days ahead, refrigerated. Reheat gently over low heat, stirring until fluid. Don’t let it boil; honey scorches quickly and the cornstarch will over-thicken and break at high heat.
4. What oil is best for frying? Any neutral high-smoke-point oil — canola, vegetable, sunflower, or peanut. Avoid olive oil (low smoke point, strong flavor) and sesame oil (overpowering and costly for frying). Peanut oil gives the cleanest result if there are no nut allergies.
5. How is this different from General Tso’s Chicken? Similar in structure, distinct in flavor. General Tso’s features dried red chilies and a tangier sauce with rice wine notes. Honey garlic chicken is cleaner and sweeter, with garlic as the dominant aromatic. Both use the same double-fry coating technique.
Final Note
Crispy Honey Garlic Chicken rewards precision — dry chicken, controlled oil temperature, properly rested coating, and sauce added off-heat in a bowl. None of these steps is difficult, but each has a specific purpose. Follow the tested method above and the result holds its own against any restaurant version.
If this recipe hit the spot, you might also enjoy these from the same collection. The sweet and sour chicken uses the same double-fried base with a tangier vinegar-forward glaze. The sesame chicken layers toasted nuttiness into the sauce. And the Kung Pao Chicken takes things in a completely different direction if you want bolder spice.
You might also like: Check out our complete Chinese cooking guide for more essential ingredients and techniques.
How to Make Crispy Honey Garlic Chicken
Chinese‑American, Main Dish, Double‑Fry
PT50M
PT12M
PT62M
Nutrition Facts
Ingredients
- 700g (1.5 lb) boneless chicken thighs (preferred) or breasts, cut into 4cm (1.5 inch) pieces — bring to room temperature 15–20 minutes before frying
- 1 egg white
- ½ tsp salt
- ½ tsp freshly ground white pepper (pre-ground loses potency; freshly ground is noticeably sharper)
- ½ tsp garlic powder
- 60g (½ cup) cornstarch
- 60g (½ cup) all-purpose flour
- Neutral oil for frying — canola, vegetable, or peanut
- 12–15g garlic, finely minced (approximately 4 tsp — clove sizes vary, so weight or volume is more reliable than a clove count)
- 1–2 tbsp rice vinegar (1 tbsp for a sweeter glaze; 2 tbsp for a more balanced, less cloying result)
- 1 tsp cornstarch mixed with 2 tbsp cold water (slurry)
- 1 tbsp neutral oil
- Sliced spring onions
- Toasted sesame seeds
- Dried chili flakes (optional)
Instructions
- Rest the chicken.
- Prep and marinate.
- Set up a dredging station
- Heat the oil
- First fry
- Second fry.
- Make the sauce
- Combine off-heat
Did you make this recipe?
Tag @asianfoodsdaily on Instagram or leave a comment below!
About Asha
Half Asian, half African cook raised between two food-obsessed cultures. I've spent 10 years learning Asian cooking traditions through family, friends, and thousands of hours at the stove — testing every dish until it works in a standard home kitchen.
Read my full story


Loading comments...