How to Make Sweet and Savory Sesame Chicken

Sweet and Savory Sesame Chicken features crispy, double-fried chicken thighs tossed in a sticky soy-honey glaze. This recipe achieves a takeout-style crunch by using a 1:1 ratio of cornstarch to flour and a two-stage frying process at 350°F and 375°F, ensuring the coating stays crispy under the sauce.
What Is Sesame Chicken?
Sweet and Savory Sesame Chicken is a staple of American-Chinese cuisine, characterized by bite-sized pieces of battered and fried chicken coated in a thick, sticky glaze. Unlike traditional Chinese stir-fries, this dish relies on a tempura-like crispness protected by a sweet soy-based sauce. The “sweet and savory” designation refers to the deliberate balance between sugar or honey and the salty depth of soy sauce and sesame oil.
Why This Recipe Works
Developing this recipe required extensive testing to solve the universal problem: soggy coating. Through rigorous trials, we identified the exact ratios and techniques necessary for restaurant-quality results.
Recipe Testing Notes:
- Batch 1 (Baking): We tested baking the chicken at 425°F. While lower in fat, the coating lacked the distinct crunch of takeout. The exterior turned soft within minutes of saucing. Verdict: Rejected for this specific style.
- Batch 2 (Cornstarch Only): A coating of 100% cornstarch created a hard, shell-like crust that separated from the meat.
- Batch 3 (Flour Dominant): All-purpose flour alone resulted in a bready, soft crust that absorbed too much oil.
- Batch 4 (Optimal Ratio): A 1:1 ratio of cornstarch to all-purpose flour, combined with baking powder, created an airy, crunchy texture that held up to the sauce. The baking powder introduced bubbles, increasing surface area for crispiness.
Failures Documented:
- The “Soggy Bottom”: Tossing the chicken directly into the sauce while the sauce was boiling resulted in a gummy layer. Correction: Remove sauce from heat before tossing.
- Burnt Garlic: Adding minced garlic too early caused bitterness. Correction: Sauté aromatics for only 30 seconds.
Optimal Results Found:
- Oil Temperature: 350°F (177°C) for the first fry, 375°F (190°C) for the second fry.
- Timing: 5 minutes for the first fry (cook through), 2 minutes for the second fry (crisp up).
Ingredients You’ll Need For Sesame Chicken

- The Chicken: 1.5 lbs boneless, skinless chicken thighs (thighs remain juicier than breasts).
- The Marinade: 1 tbsp soy sauce, 1 tsp sesame oil, 1 egg white (tenderizes the meat).
- The Coating: ½ cup all-purpose flour, ½ cup cornstarch, 1 tsp baking powder.
- The Sauce:
- ½ cup soy sauce (provides the savory base).
- ½ cup granulated sugar (creates the sticky glaze).
- ¼ cup honey (adds floral sweetness).
- 2 tbsp rice vinegar (cuts the richness).
- 1 tbsp cornstarch mixed with 2 tbsp water (slurry for thickening).
- 2 cloves garlic, minced.
- 1 tbsp toasted sesame seeds.
- For guidelines on safe poultry handling and internal temperatures, refer to the ++USDA Food Safety Guidelines++.
Equipment
- Heavy Pot/Dutch Oven: A Lodge 5-Quart Cast Iron Dutch Oven is recommended for maintaining steady oil temperatures.
- Instant-Read Thermometer: The ThermoWorks Thermapen ONE is essential for monitoring oil temp (target: 350°F) and chicken internal temp (target: 165°F).
- Wire Rack: Placed over a baking sheet to drain fried chicken without trapping steam.
- Wok or Large Skillet: For reducing the sauce.
How to Make Sesame Chicken (Step-by-Step)

- Prep the Chicken: Cut chicken thighs into 1-inch cubes. Pat dry with paper towels. Mix with marinade ingredients (soy sauce, sesame oil, egg white) and let sit for 10 minutes.
- Dredge: In a separate bowl, whisk flour, cornstarch, and baking powder. Toss the marinated chicken in the dry mixture, pressing the powder onto the meat to ensure adhesion. Shake off excess.
- First Fry: Heat 2 inches of oil in your Dutch oven to 350°F. Carefully drop chicken pieces in batches. Fry for 5 minutes until cooked through (internal temp 165°F). Remove to the wire rack.
- Second Fry: Increase oil temperature to 375°F. Return the chicken to the oil for 1-2 minutes until the exterior is golden brown and intensely crispy. Drain again on the wire rack.
- Make the Sauce: In a saucepan, combine soy sauce, sugar, honey, vinegar, and garlic. Simmer over medium heat. Stir in the cornstarch slurry. Cook until the sauce coats the back of a spoon (about 2 minutes).
- Combine: Remove the saucepan from the heat. Immediately add the fried chicken and toss gently until coated. Sprinkle with sesame seeds.

Pro Tips For Perfect Sesame Chicken
- Temperature Recovery: Do not overcrowd the pot. Adding too much chicken at once drops the oil temperature, resulting in greasy food. Fry in 3-4 batches.
- Sauce Consistency: The sauce will thicken rapidly once the slurry hits the heat. Stir constantly to prevent lumps.
- Serve Immediately: This dish is best eaten fresh. The coating will eventually soften under the sauce, so serve within 10 minutes of tossing.
Common Mistakes to Avoid

- Using Cold Chicken: Cold meat lowers oil temp. Let the chicken sit at room temperature for 15 minutes before frying.
- Skipping the Rest: Letting the sauce boil while tossing the chicken continues to cook the sugar, risking a burnt flavor. Always remove the pan from the heat source before tossing.
- Wet Batter vs. Dry Dredge: A wet batter runs the risk of being too heavy. A dry dredge (used here) creates a lighter, crispier texture more akin to high-quality takeout.
Easy Variations
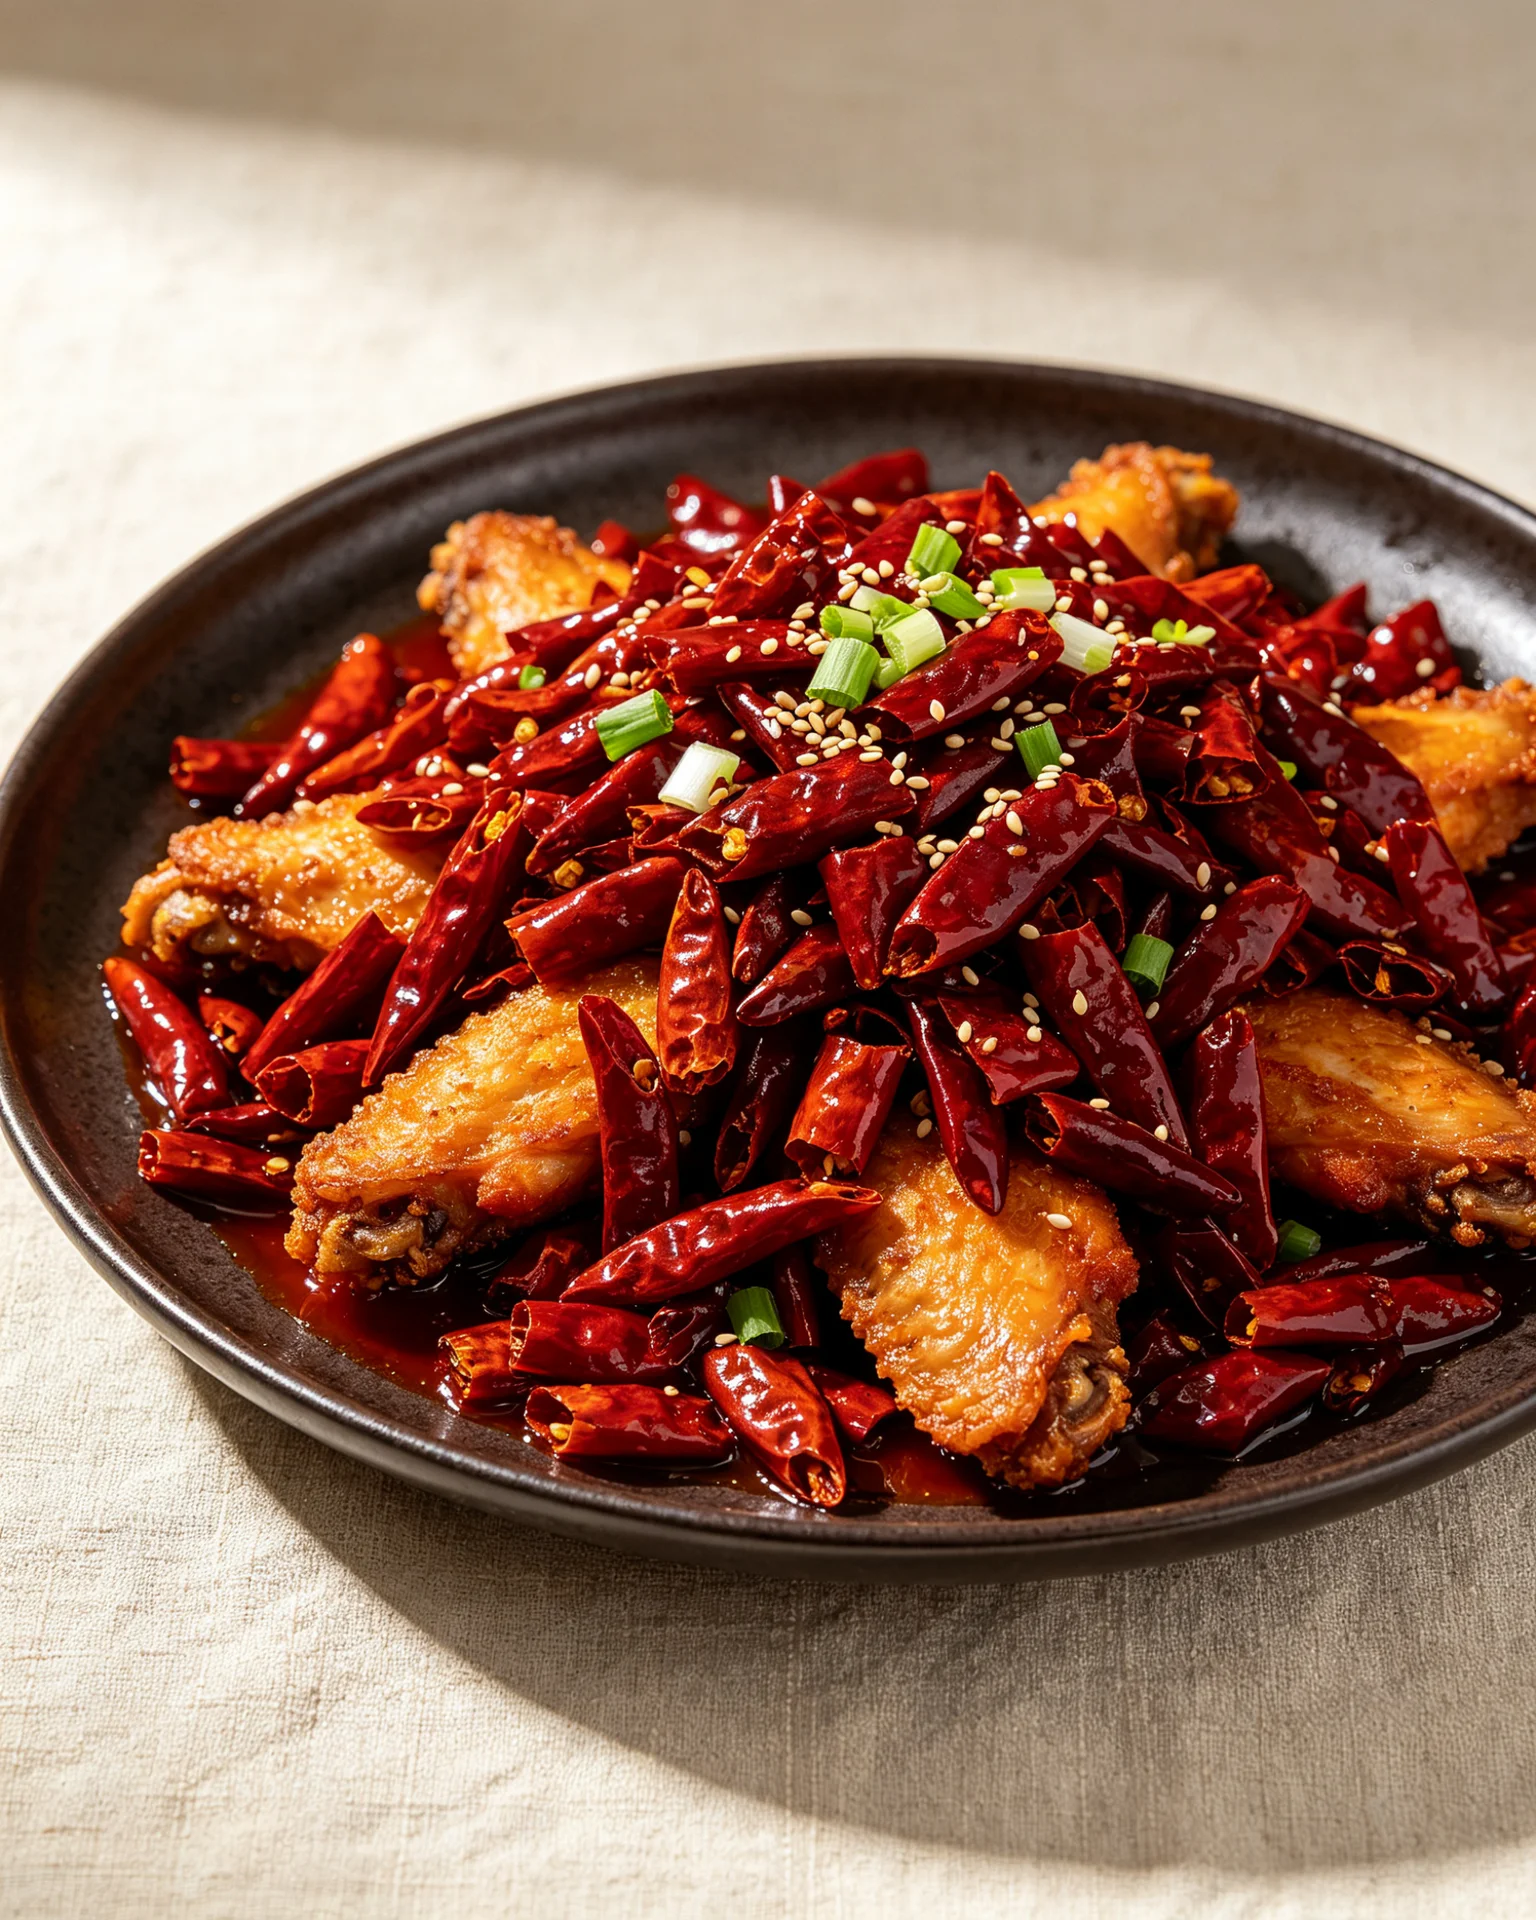
- Spicy Sesame Chicken: Add 1 tablespoon of chili garlic paste (Sambal Oelek) or red pepper flakes to the sauce while simmering.
- Air Fryer Method: Spray breaded chicken with oil and cook at 375°F for 12-15 minutes, flipping halfway. The texture will be lighter but still satisfying.
- Vegetarian Option: Substitute chicken with firm tofu cubes (pressed to remove moisture) or cauliflower florets.
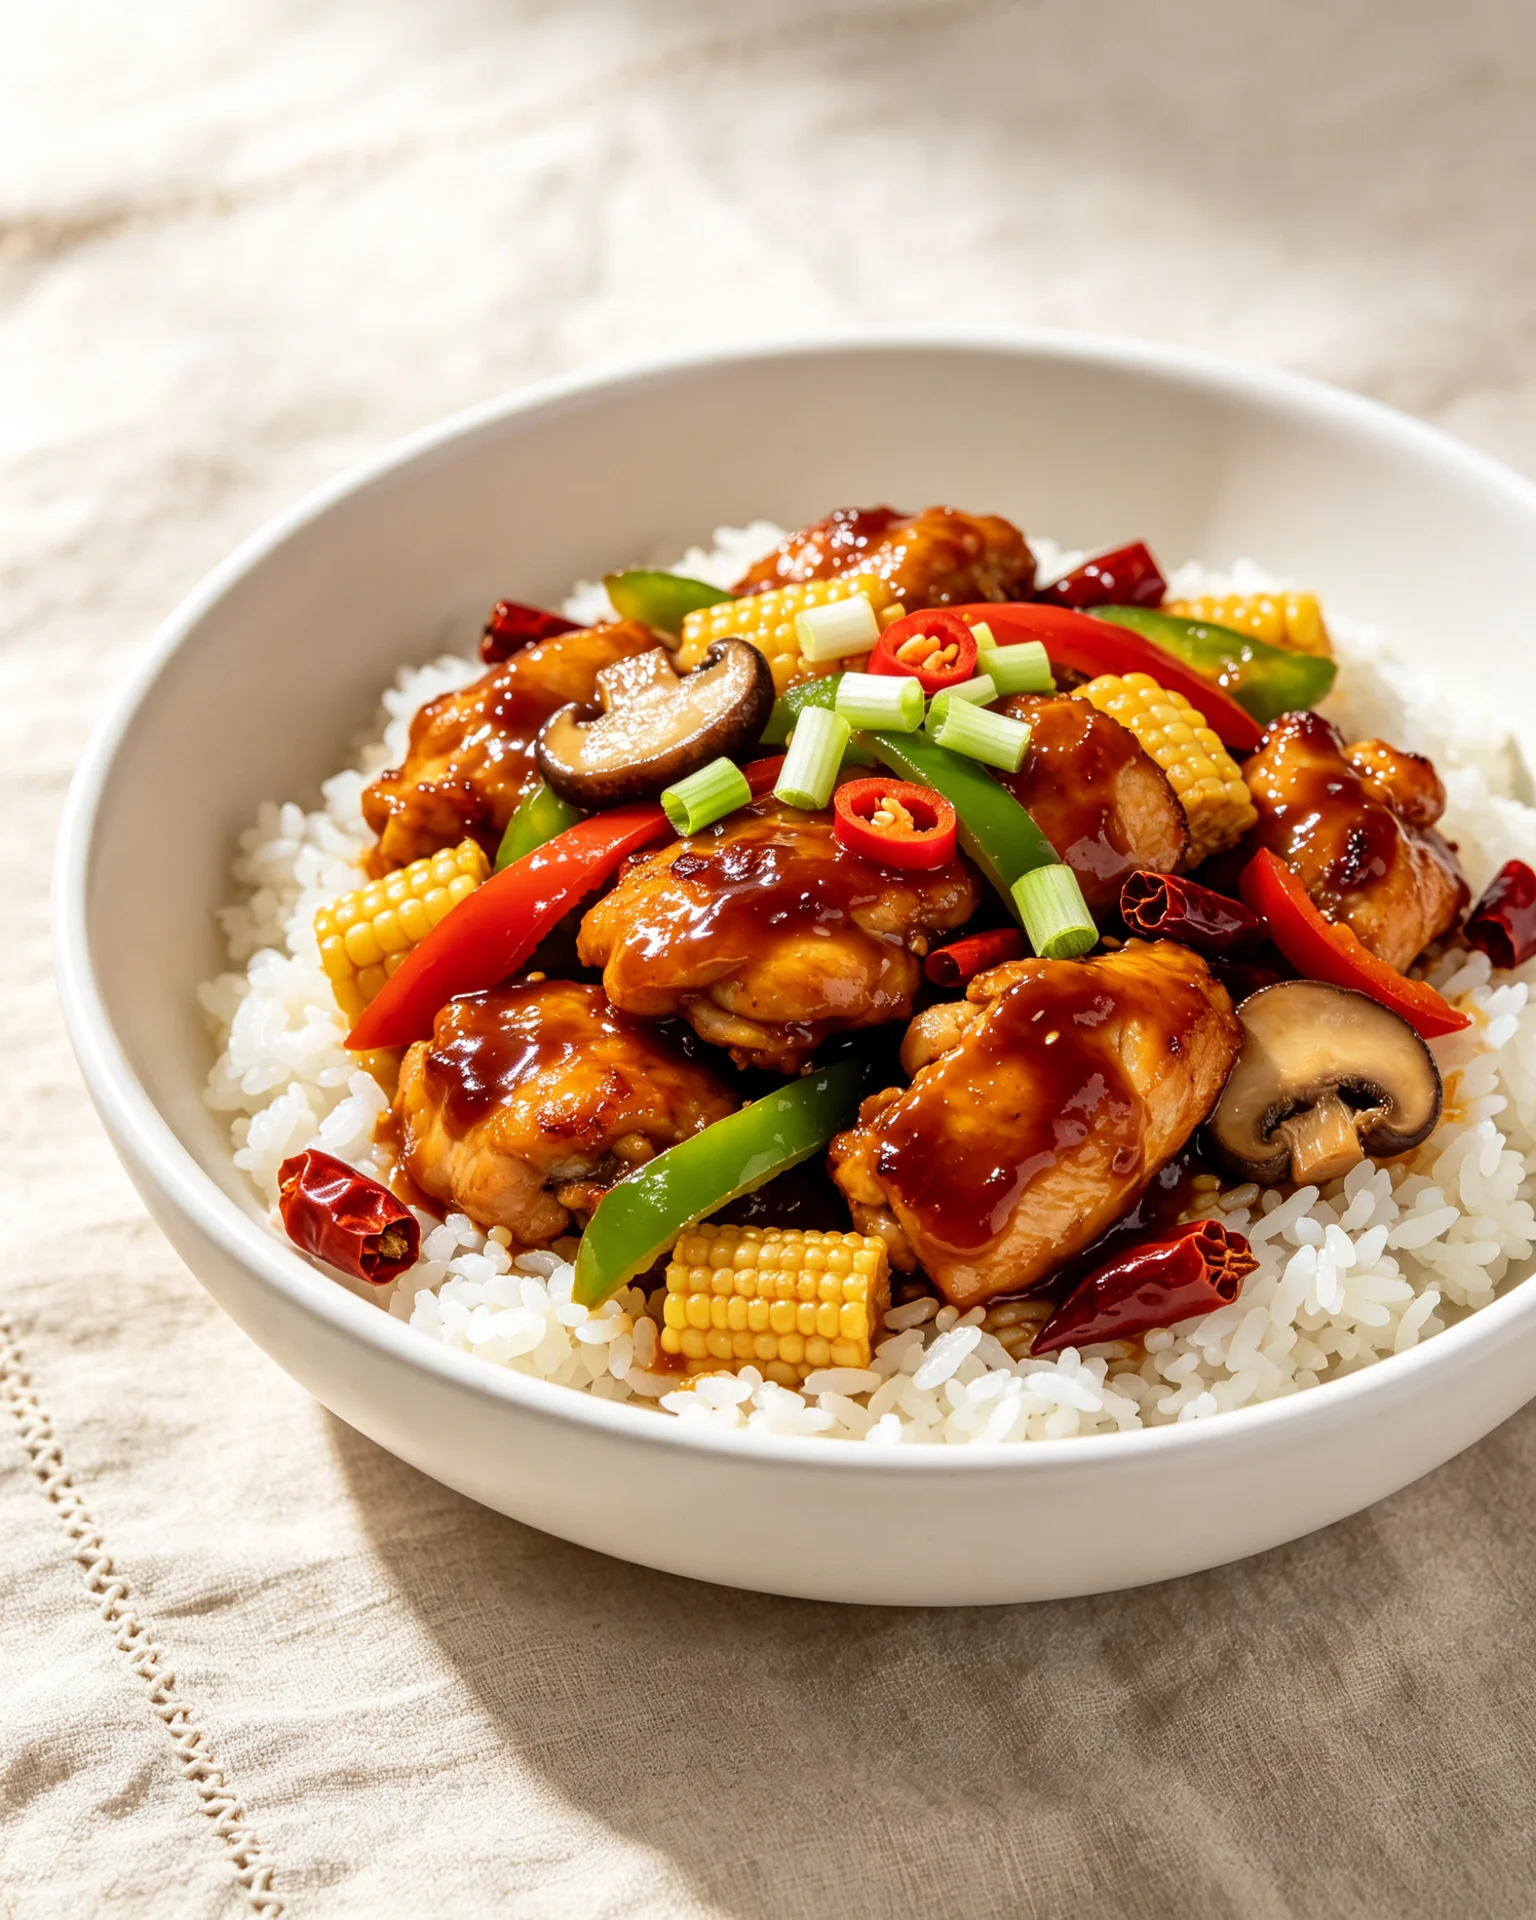
Serving Suggestions
Serve over a bed of steamed jasmine rice or cauliflower rice to absorb the extra sauce. Pair with steamed broccoli or roasted snap peas to add a bitter, green contrast to the sweet glaze.
Storage and Reheating
- Storage: Store leftover chicken and sauce separately in airtight containers in the refrigerator for up to 3 days.
- Reheating: Do not microwave, as it makes the coating rubbery. Reheat in a toaster oven or standard oven at 400°F for 5-8 minutes to re-crisp the coating.
Nutrition Information
- Estimate per serving (based on 4 servings):
- Calories: 480
- Protein: 28g
- Carbohydrates: 45g
- Fat: 22g
- Sodium: 1200mg (varies by soy sauce brand)
Love Chinese food?
Check out my complete guide to Chinese home cooking, pantry essentials, and techniques.
Frequently Asked Questions
1. Can I use chicken breast instead of thighs?
Yes, but reduce the frying time by 1 minute to prevent drying out. Thighs have a higher fat content, making them more forgiving during high-heat frying.
2. Why is my sesame chicken soggy?
Sogginess usually occurs if the oil temperature dropped below 325°F during frying or if the sauce was too watery. Ensure your oil is hot enough and your sauce is thickened to a syrup consistency before tossing.
3. Can I make this recipe gluten-free?
Absolutely. Substitute the all-purpose flour with a 1:1 gluten-free flour blend and use Tamari or coconut aminos instead of standard soy sauce.
4. How do I know when the oil is ready without a thermometer?
Stick a wooden chopstick or the handle of a wooden spoon into the oil. If bubbles vigorously form around the wood, the oil is ready (approx. 350°F).
5. Can I freeze sesame chicken?
You can freeze the fried chicken pieces before they are sauced. Reheat them in the oven and then toss in freshly made sauce for the best texture.
Final Note
Mastering Sweet and Savory Sesame Chicken is about controlling heat and timing. By adhering to the double-fry method and respecting the viscosity of your glaze, you move beyond takeout dependency, creating a dish that balances the addictive nature of fried food with the nuanced depth of homemade sauce.
You might also like: Check out our complete Chinese cooking guide for more essential ingredients and techniques.
How to Make Sweet and Savory Sesame Chicken
15 minutes
8 minutes
23 minutes
Nutrition Facts
Ingredients
- 1.5 lbs boneless, skinless chicken thighs (thighs remain juicier than breasts).
- 1 tbsp soy sauce, 1 tsp sesame oil, 1 egg white (tenderizes the meat).
- ½ cup all-purpose flour, ½ cup cornstarch, 1 tsp baking powder.
- ½ cup soy sauce (provides the savory base).
- ½ cup granulated sugar (creates the sticky glaze).
- ¼ cup honey (adds floral sweetness).
- 2 tbsp rice vinegar (cuts the richness).
- 1 tbsp cornstarch mixed with 2 tbsp water (slurry for thickening).
- 2 cloves garlic, minced.
- 1 tbsp toasted sesame seeds.
Instructions
- Prep the Chicken
- Dredge
- First Fry
- Second Fry
- Make the Sauce
- Combine
Did you make this recipe?
Tag @asianfoodsdaily on Instagram or leave a comment below!
About Asha
Half Asian, half African cook raised between two food-obsessed cultures. I've spent 10 years learning Asian cooking traditions through family, friends, and thousands of hours at the stove — testing every dish until it works in a standard home kitchen.
Read my full story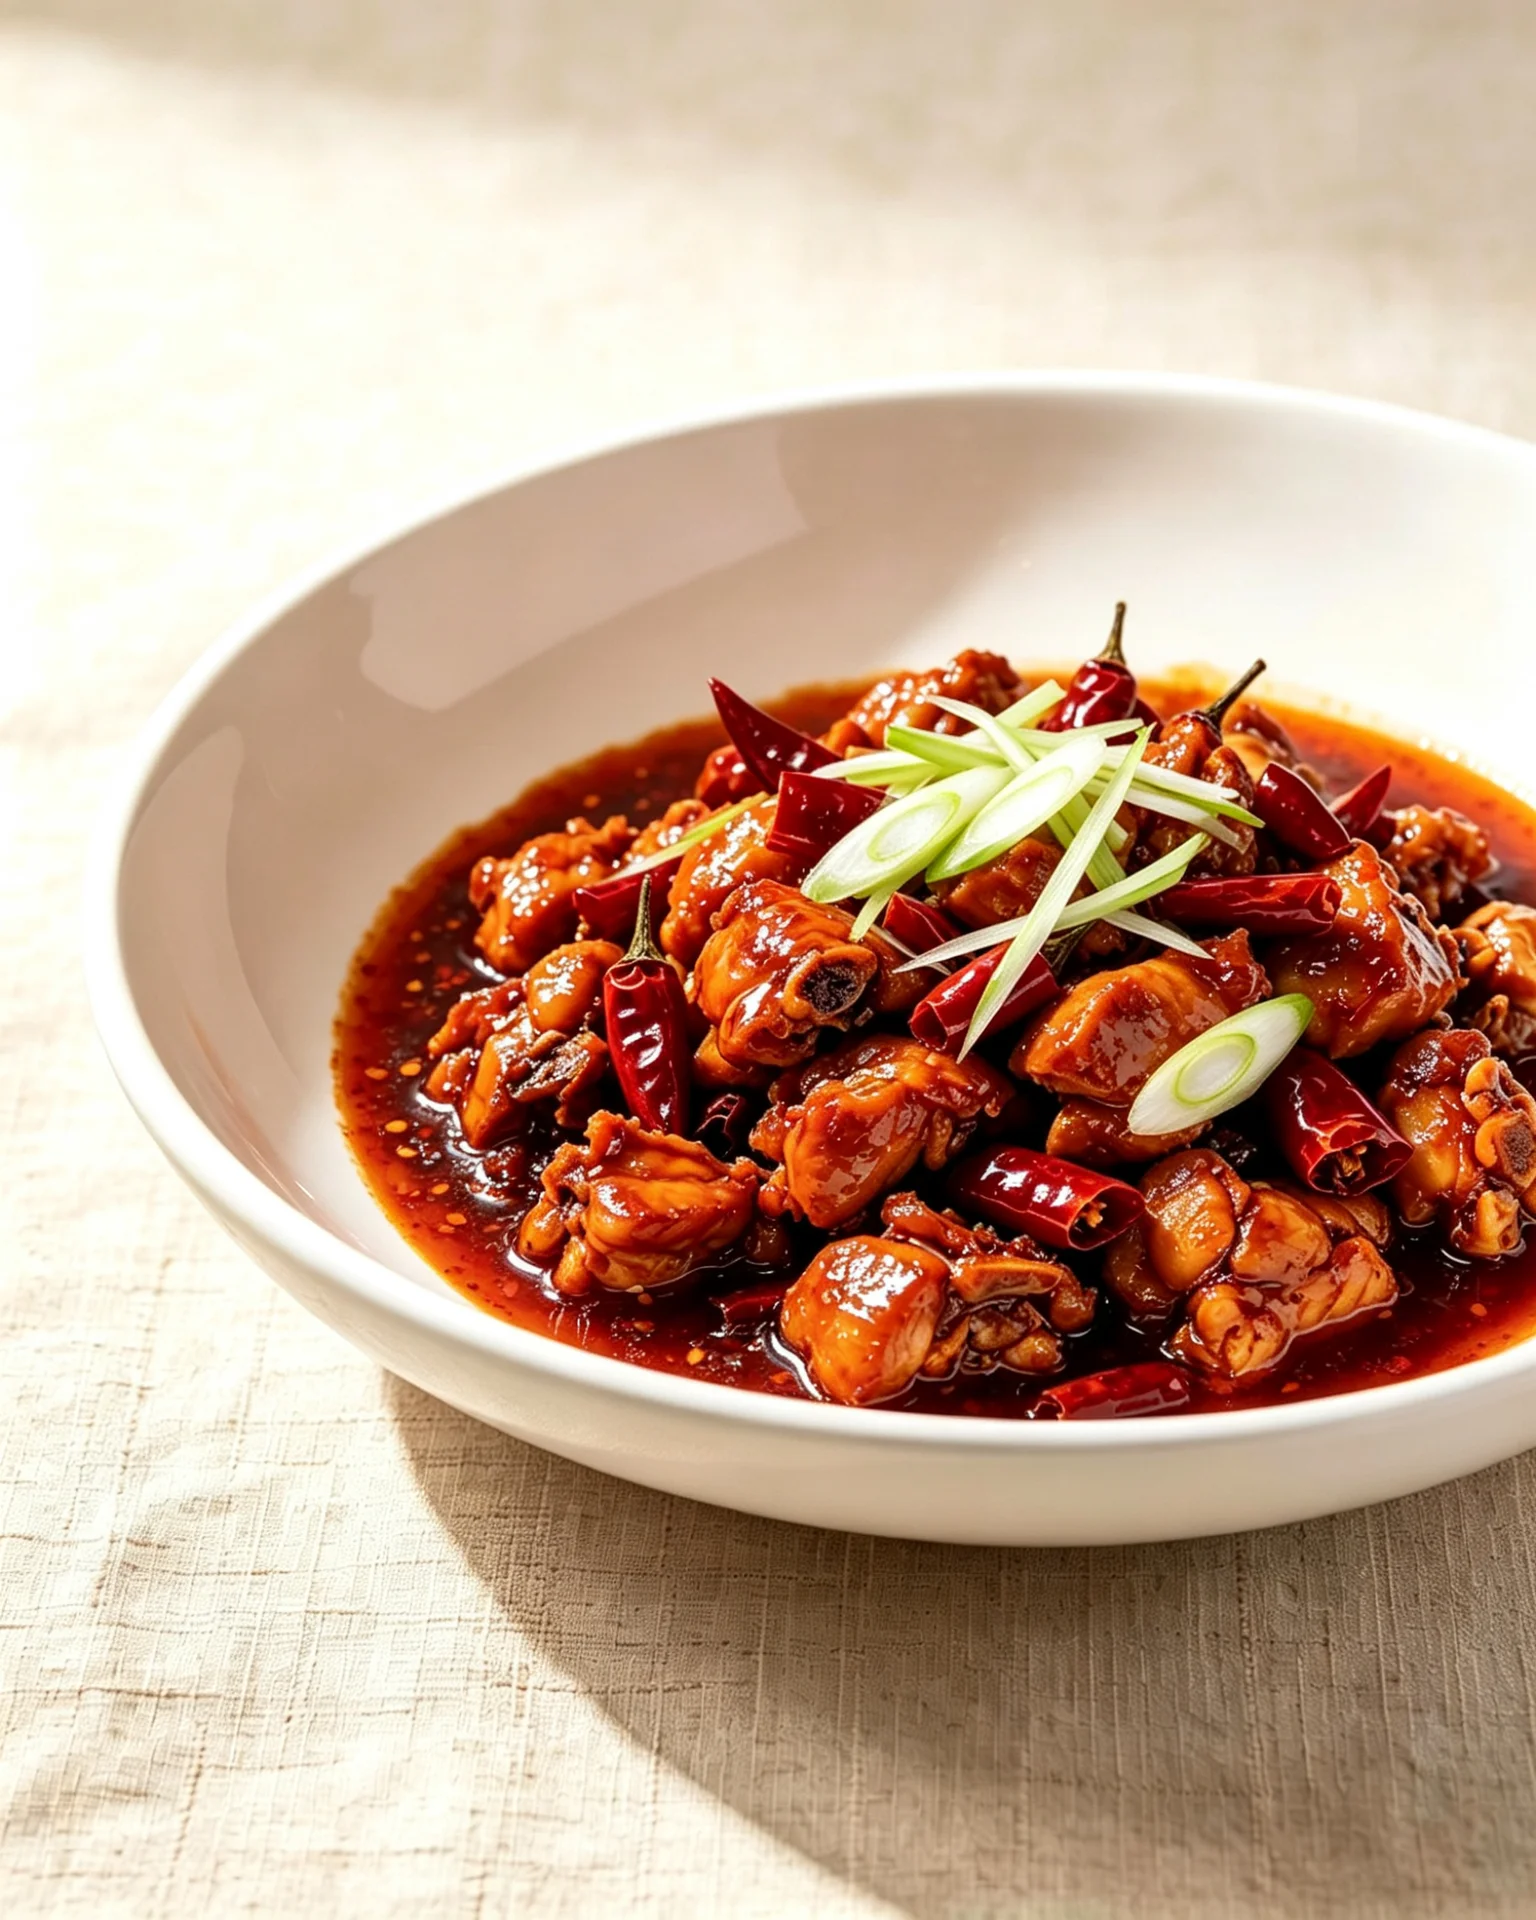


Loading comments...